Good kitchen storage ideas help you cook faster, find what you need, and keep counters clear. When items have a home, cleanup takes less time and the room feels calmer.
This guide focuses on real-life setups like rail hooks, labeled glass jars, open shelving, deep drawer dividers, and renter-friendly bins. You will also see solutions for tiny apartments, shared kitchens, and busy family homes.
Each section includes simple steps you can copy, plus small styling ideas so storage looks neat without feeling perfect. You will also get a Pro Design Tip and a Budget Consideration for every space.
Use these ideas one area at a time, starting with the spot that slows you down most, like the lunch counter, spice storage, or the under-sink zone.
1. Wall Storage Ideas for a Busy Family Lunch Station
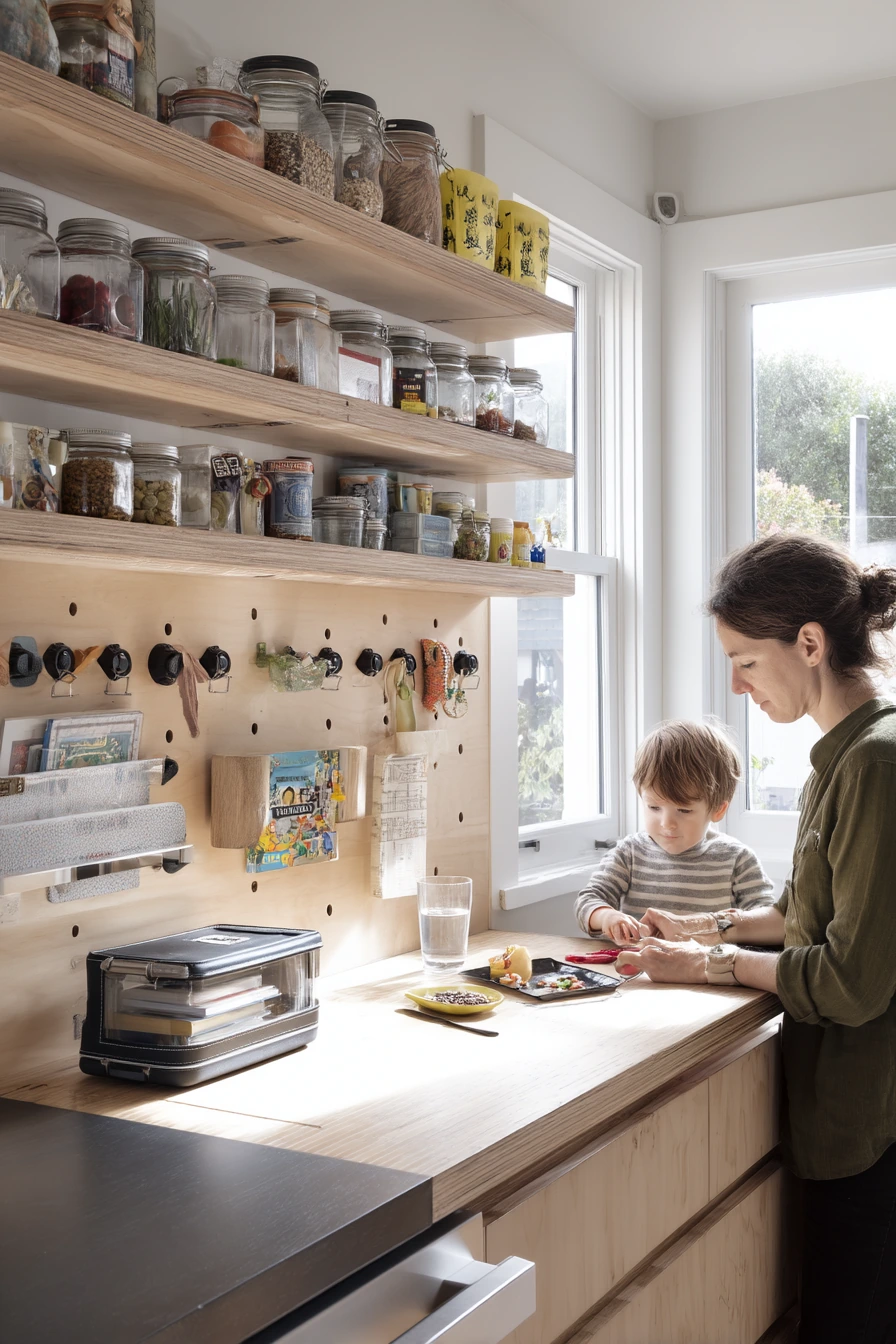

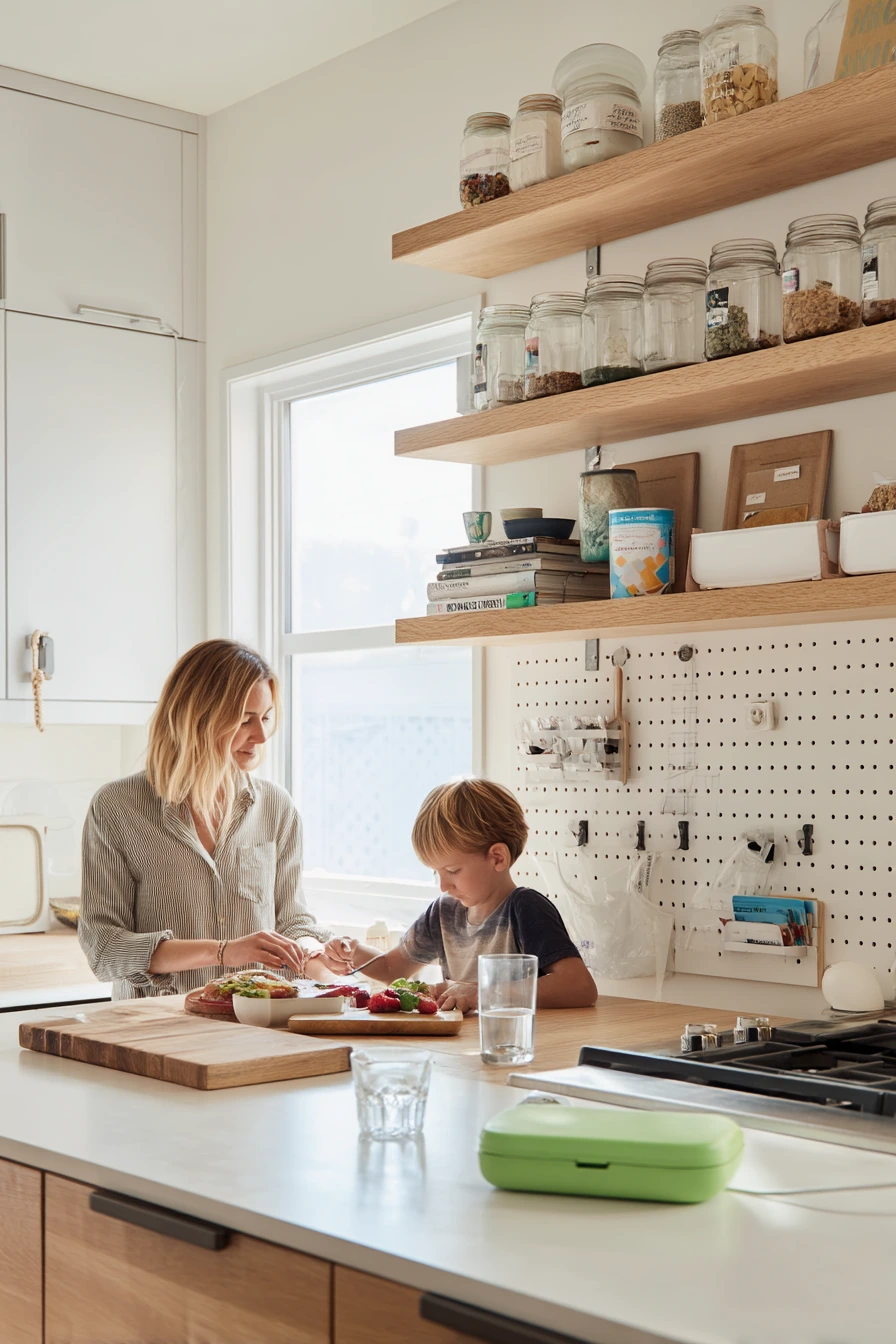
Wall storage is one of the easiest ways to add space without changing cabinets. A rail with hooks, shallow shelves, and a compact pegboard above the counter keeps lunch tools in reach while the work surface stays open for packing. This setup works well in a real family kitchen where a parent is making school lunches and a child can safely grab a snack from a low shelf.
Start by choosing one wall zone near the main prep area. Use tactile oak shelves with matte white brackets or brushed steel rails for a clean look that fits most kitchens. Put daily items up front, like lunchboxes, snack containers, and a small cookbook stack. Keep cords tidy too, since charging cables often end up on the counter. Add a small tray so the half-full water glass and small bits do not wander.
For styling, keep the wall calm and repeat materials. Labeled glass jars look organized and help kids see what is inside. Store only what you use weekly so the pegboard does not become clutter. Leave a small open spot on the counter for the current task, like sandwiches or cutting fruit.
- Install a rail hook bar for measuring spoons, scissors, and a small strainer.
- Use labeled glass jars on a shallow shelf for snacks, rice, and oats.
- Add a small pegboard for lunch tools like bag clips and a mini timer.
- Keep a charging cable in a mounted clip so it does not slide onto the counter.
- Set one kid-friendly shelf low with spill-safe snack bins.
Pro Design Tip: Mount the rail and pegboard so the most-used hooks sit at your elbow height, then group items by task (lunch, baking, coffee) to cut steps during busy mornings.
Budget Considerations: A basic rail and hook set is low cost, and you can use thrifted jars with simple labels instead of buying a full matching canister set.

2. Renter-Friendly Kitchen Storage with Freestanding Shelving and Hooks
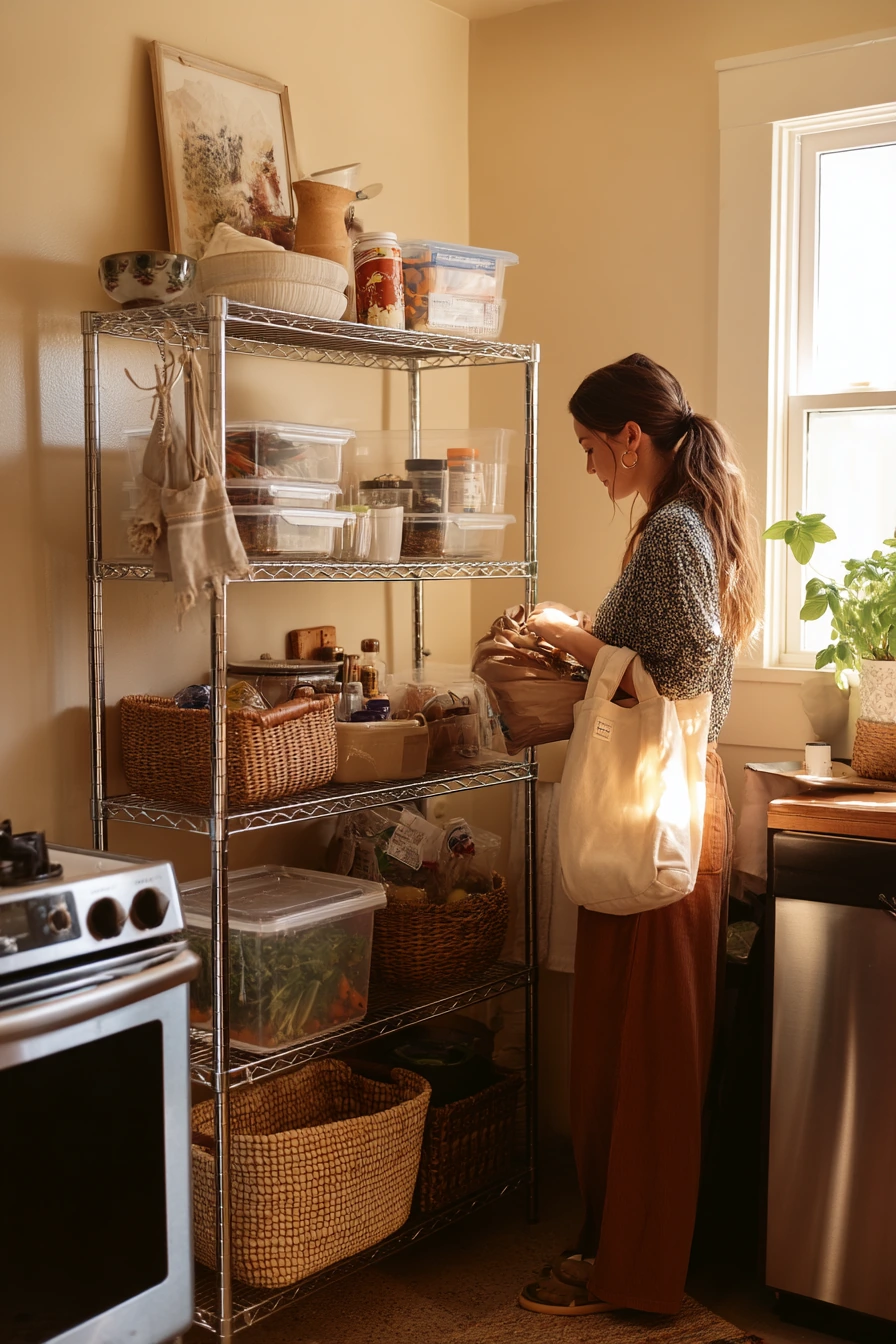
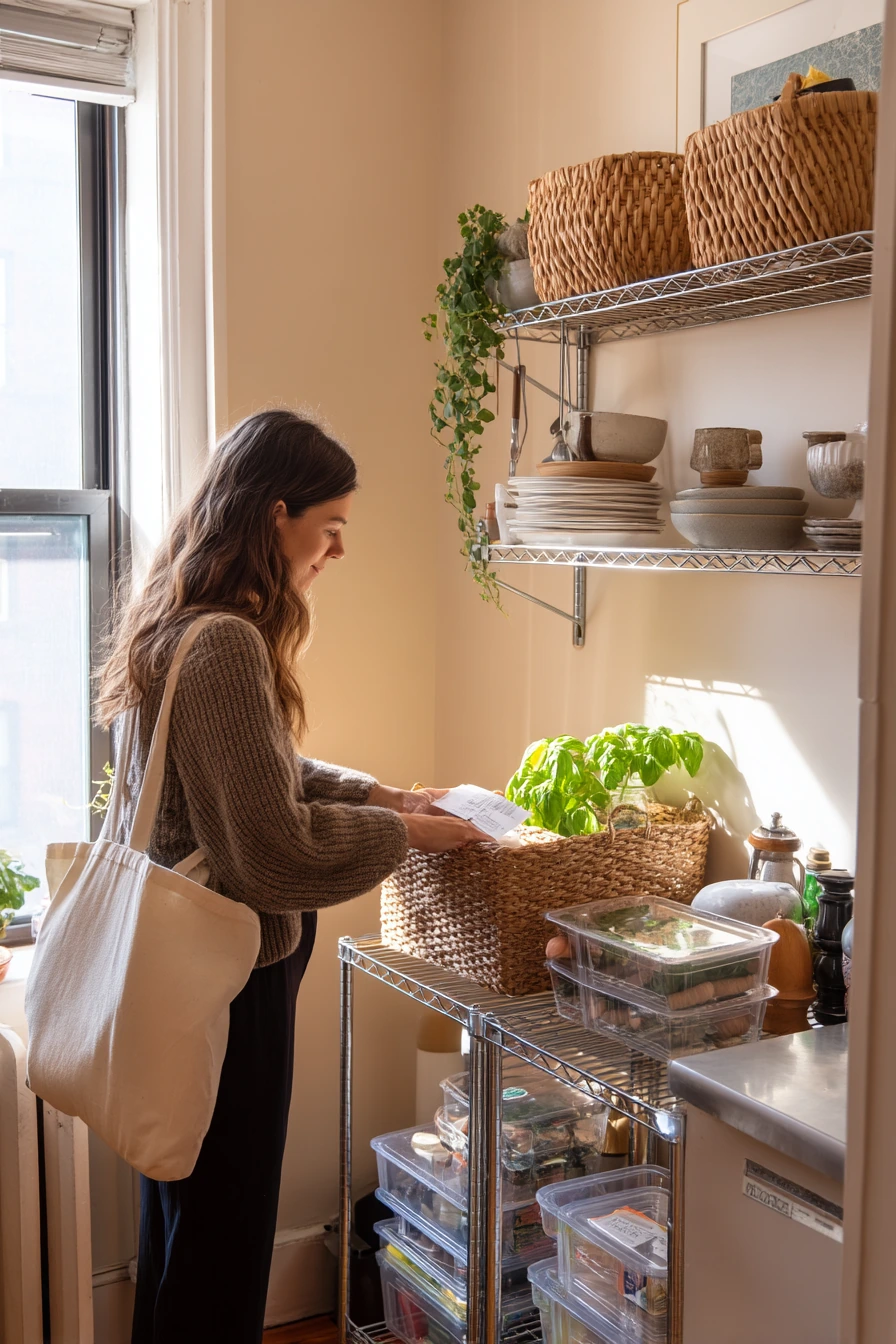
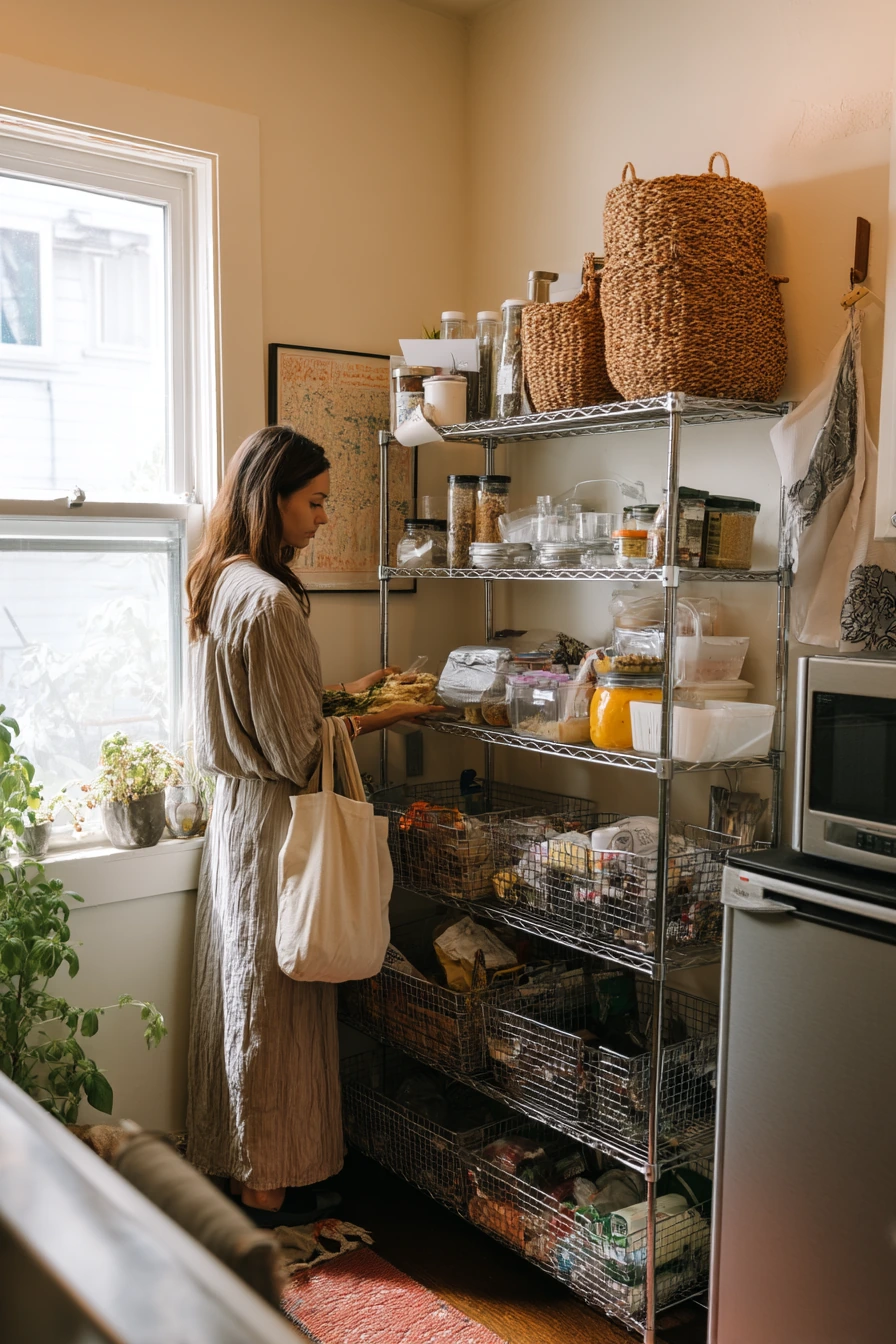
If you rent, you can still get strong kitchen storage without drilling into walls. Freestanding metal shelving gives you extra pantry space for clear bins, woven baskets, and compact appliances. Over-the-cabinet hooks add instant hanging room for towels, oven mitts, and reusable bags, and they come off easily when you move.
Set the shelving unit in a corner near the fridge or near the sink, where groceries land after work. Use clear bins for snacks and breakfast items so you can see what is low. Put heavy items on lower shelves for safety. If your walls are warm beige or neutral, baskets in natural tones keep the look soft and lived-in, not like a garage shelf. Keep a small basil plant by the sink for a fresh touch that also helps you cook.
For styling, pick two container types and repeat them. For example, clear bins for food and woven baskets for tools and small appliances. Tuck receipts into a small catch bowl, and hang a slightly wrinkled dish towel on a hook instead of leaving it on the counter. This makes the space feel calmer, even on weeknights.
- Choose a freestanding shelf with adjustable heights for tall cereal boxes and small appliances.
- Use clear bins with simple labels for snacks, pasta, and baking supplies.
- Add woven baskets for backstock items and less-pretty packages.
- Use over-the-cabinet hooks for towels, potholders, and tote bags.
- Place a small tray on one shelf for keys, receipts, and coupons.
Pro Design Tip: Keep one shelf as a landing zone for grocery unloading, then move items into bins right away so food does not pile up on the counter.
Budget Considerations: A basic metal shelving unit costs less than custom pantry storage, and you can use shoe-box bins from a dollar store to start before upgrading to matching sets.
3. Tiny Apartment Kitchen Storage: Go Vertical with Carts, Magnets, and Stacked Shelves

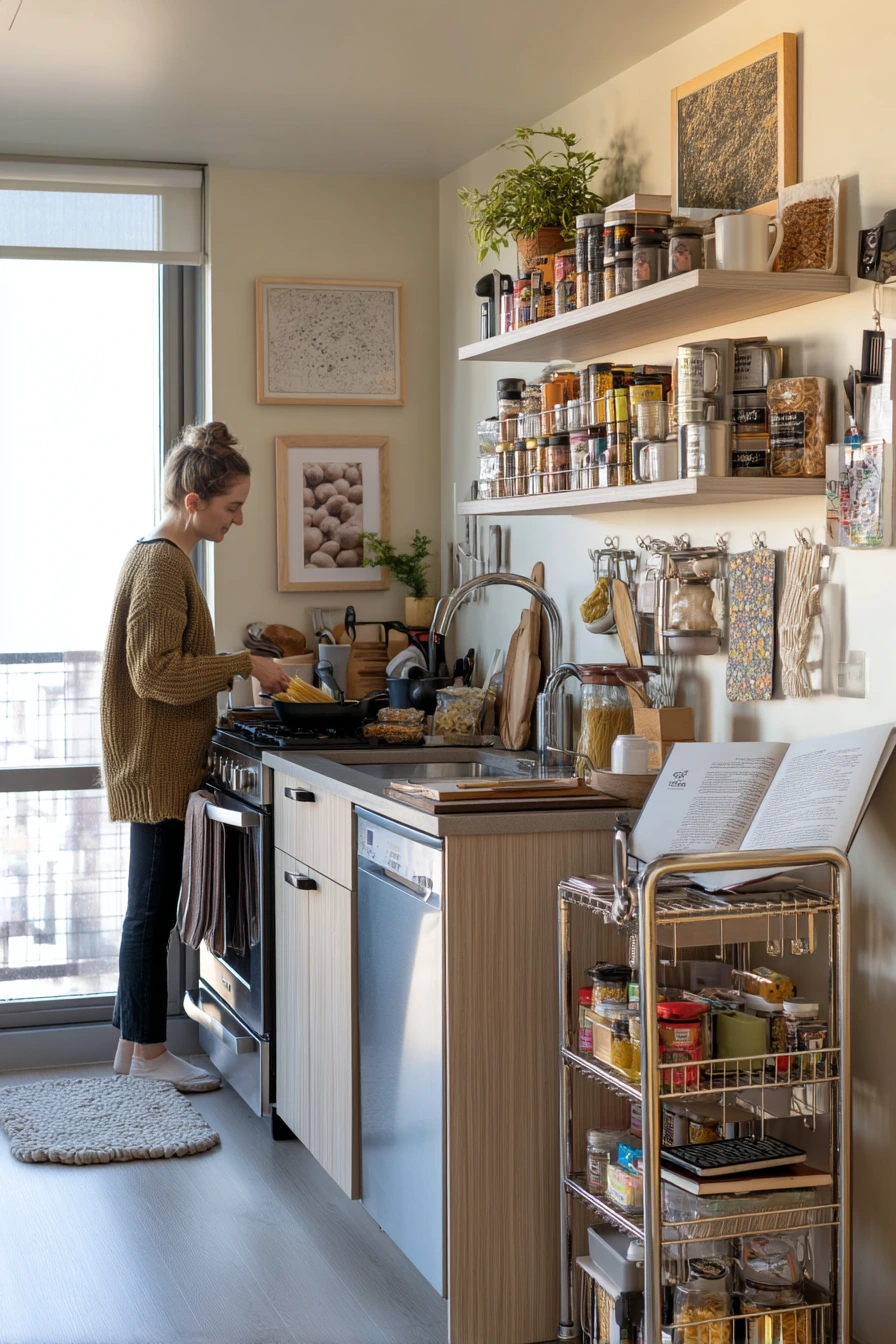
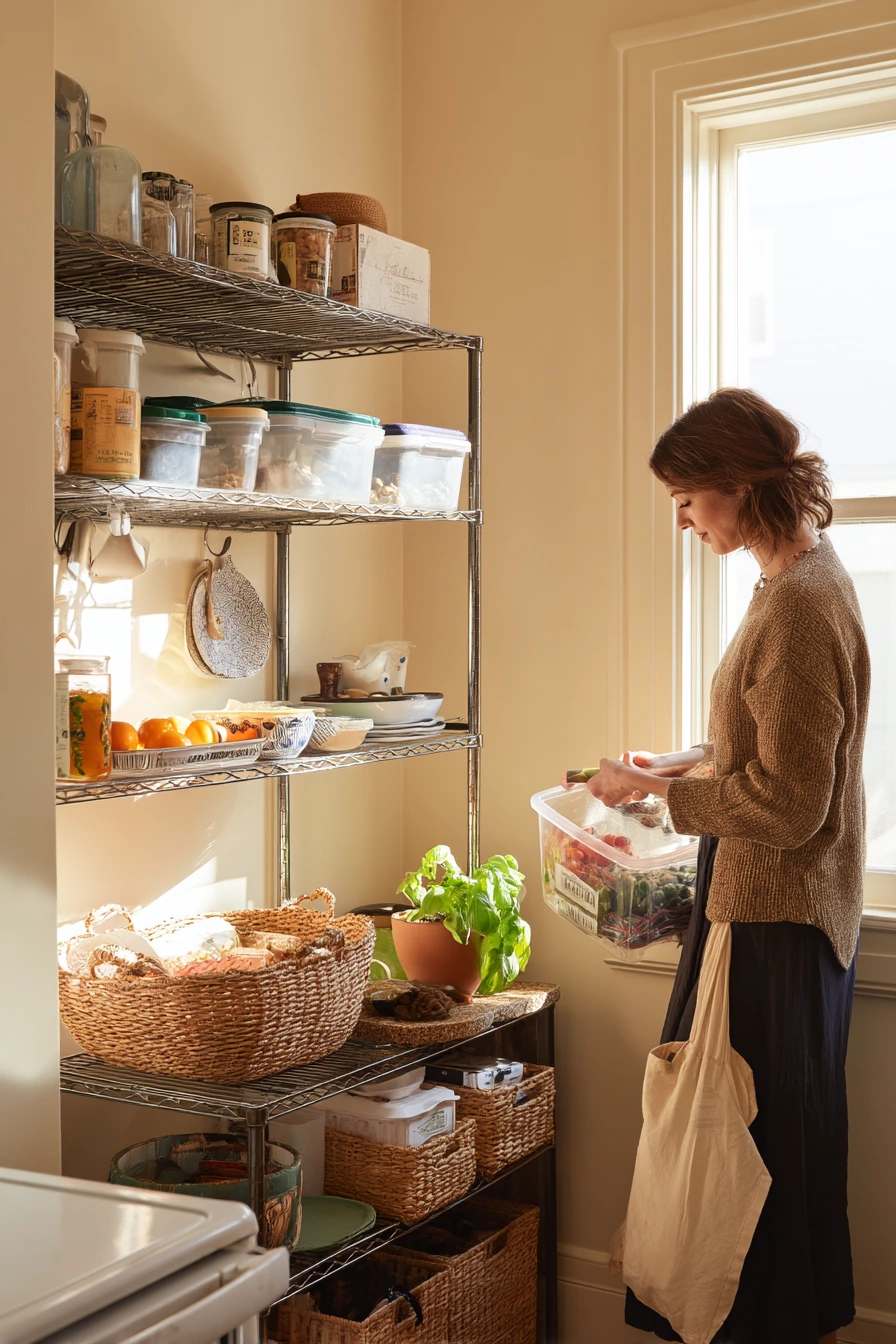
In a tiny apartment kitchen, vertical storage is the difference between a workable space and a crowded one. Stacked shelves inside cabinets, magnetic spice tins on the fridge, and hanging mugs free up drawers and make daily cooking easier. A slim rolling cart beside the fridge adds a whole extra layer of storage without blocking walkways.
Start with your pain point. If spices are scattered, put them in magnetic tins and keep the labels large and clear. If mugs eat up cabinet space, hang them under a shelf or on a wall-mounted bar. Use stacked shelves so plates and bowls do not become a tall, unstable pile. A rolling cart can hold pasta, oils, and a colander, and it can move when you need room to drain a pot.
For styling, keep the look simple. Match metal finishes with your stainless steel details, and choose pale wood accents to warm up laminate cabinets. Treat the cart like a small piece of furniture: add one basket for packets, one jar for utensils, and leave some breathing room. If your phone charges in the kitchen, route the cable along the side of the cart or behind the fridge so it stays off the counter.
- Add stacked shelves inside cabinets to double your usable space.
- Use magnetic spice tins on the fridge or a metal board near the stove.
- Hang mugs on hooks under a shelf to free up cabinet room.
- Park a slim rolling cart beside the fridge for oils, pasta, and towels.
- Keep one small tray for cooking tools so items do not spread out.
Pro Design Tip: Measure the gap beside your fridge before buying a cart, and choose one that leaves space for airflow and for opening doors fully.
Budget Considerations: Magnetic tins and a basic cart are usually affordable; if costs add up, reuse small jars for spices and add stick-on hooks for mugs.
4. Open Shelving Storage Ideas That Still Look Calm and Useful
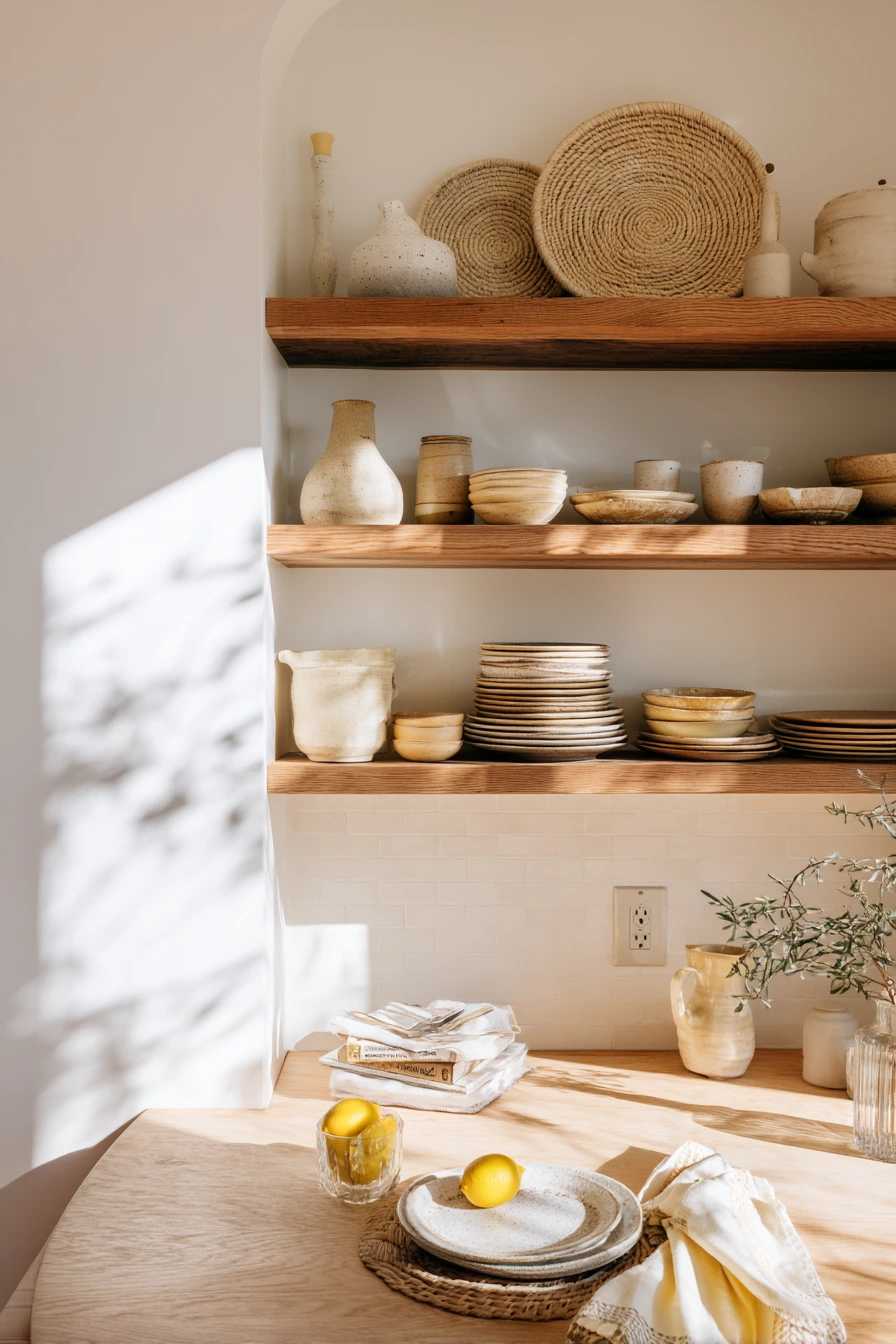
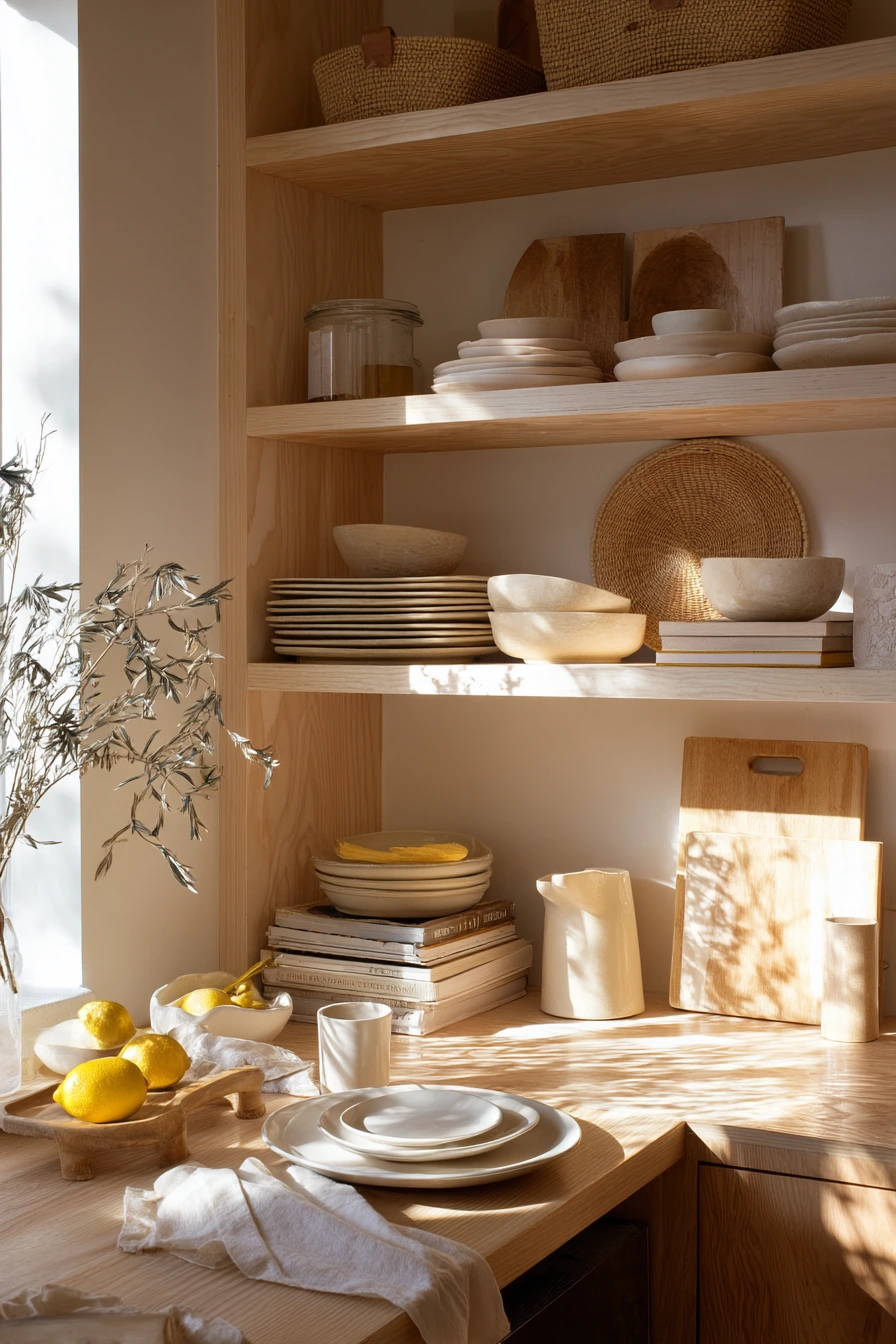
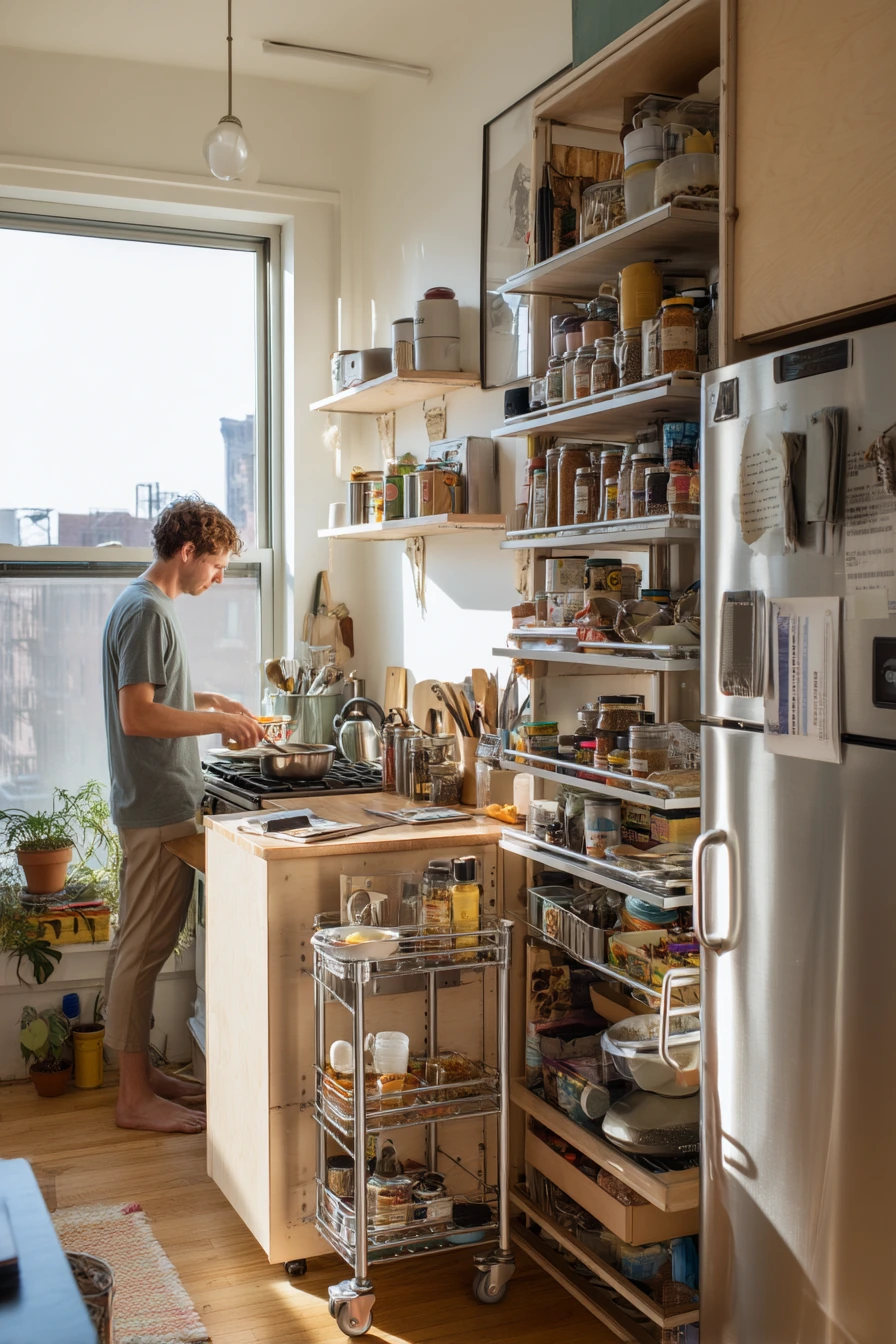
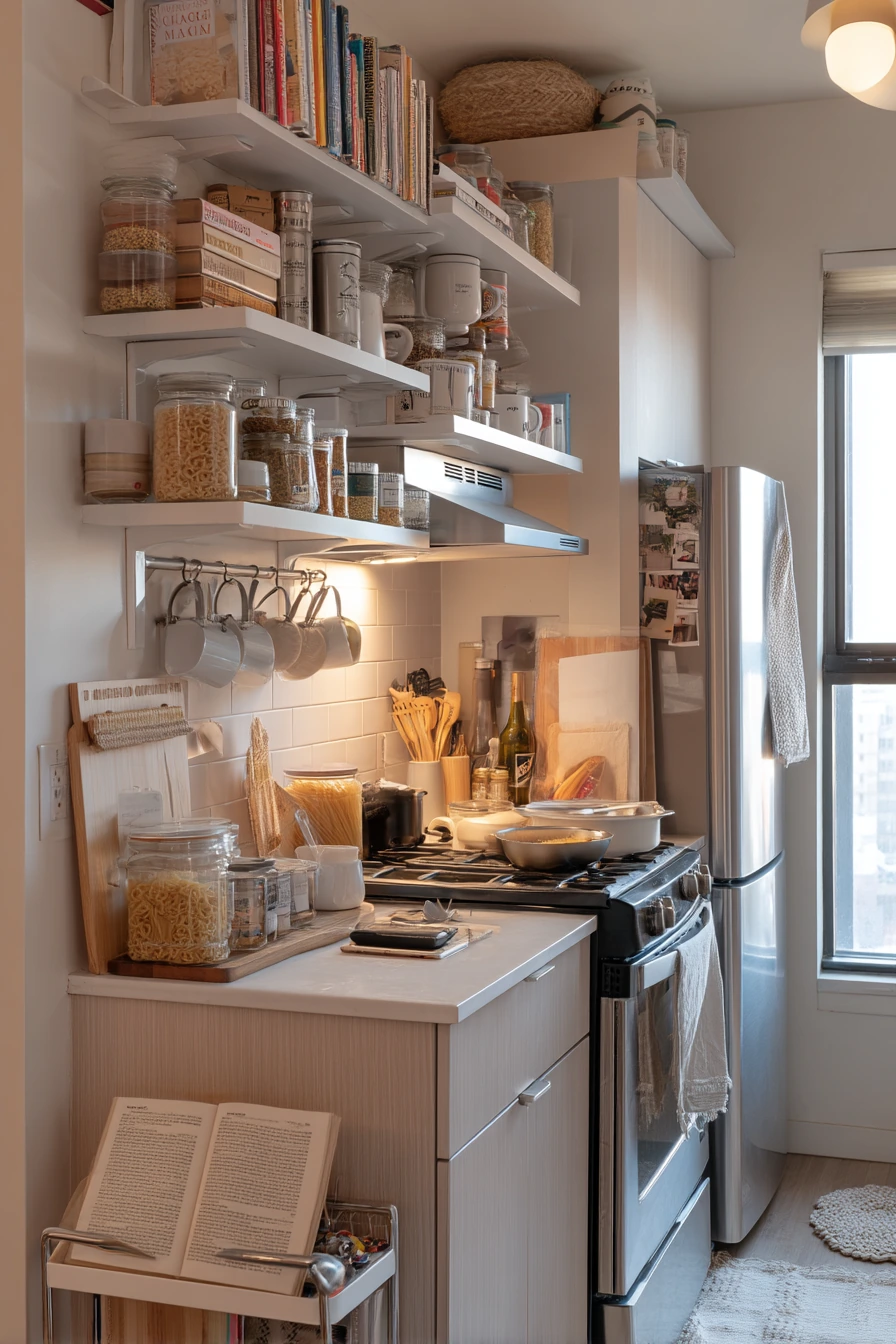
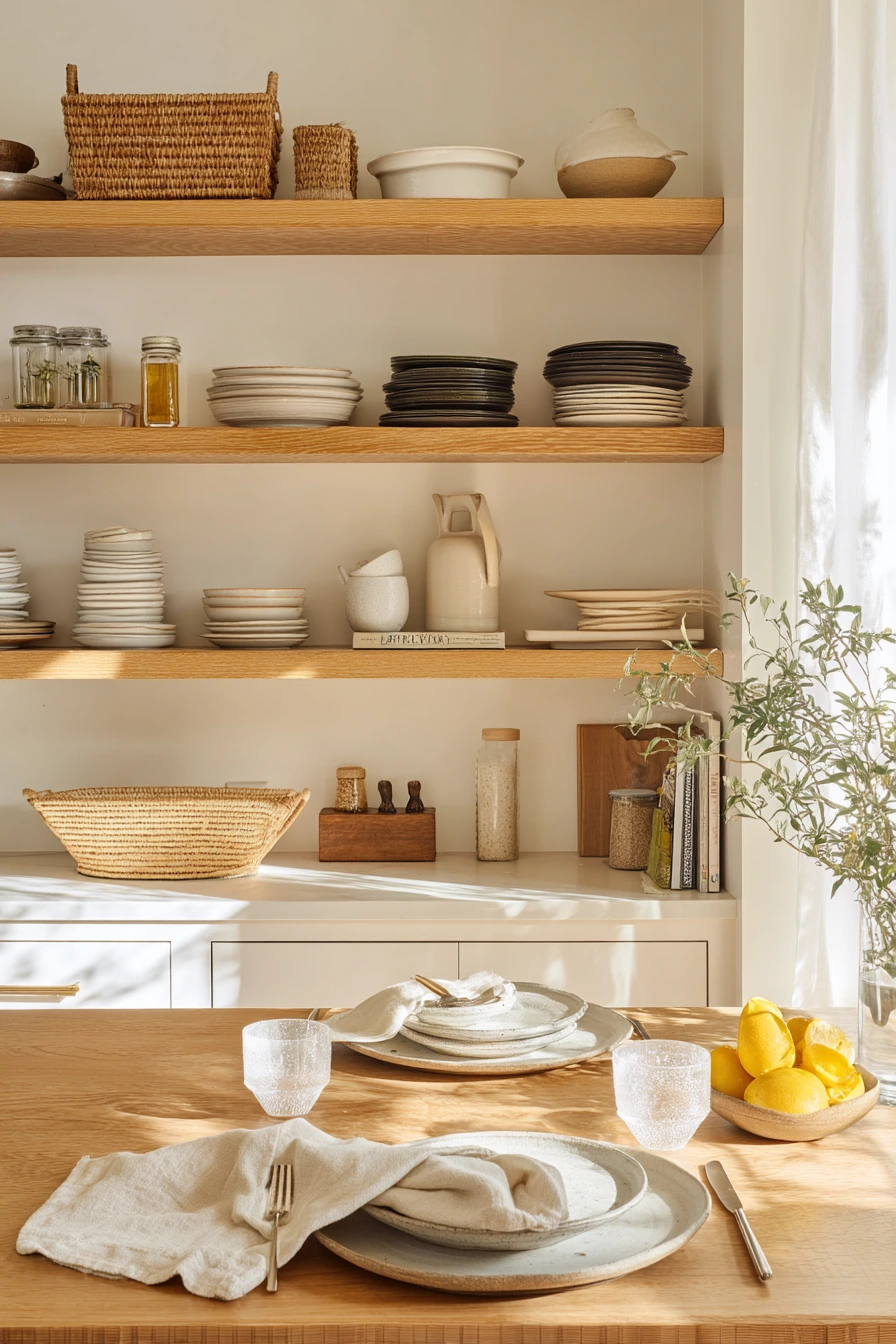
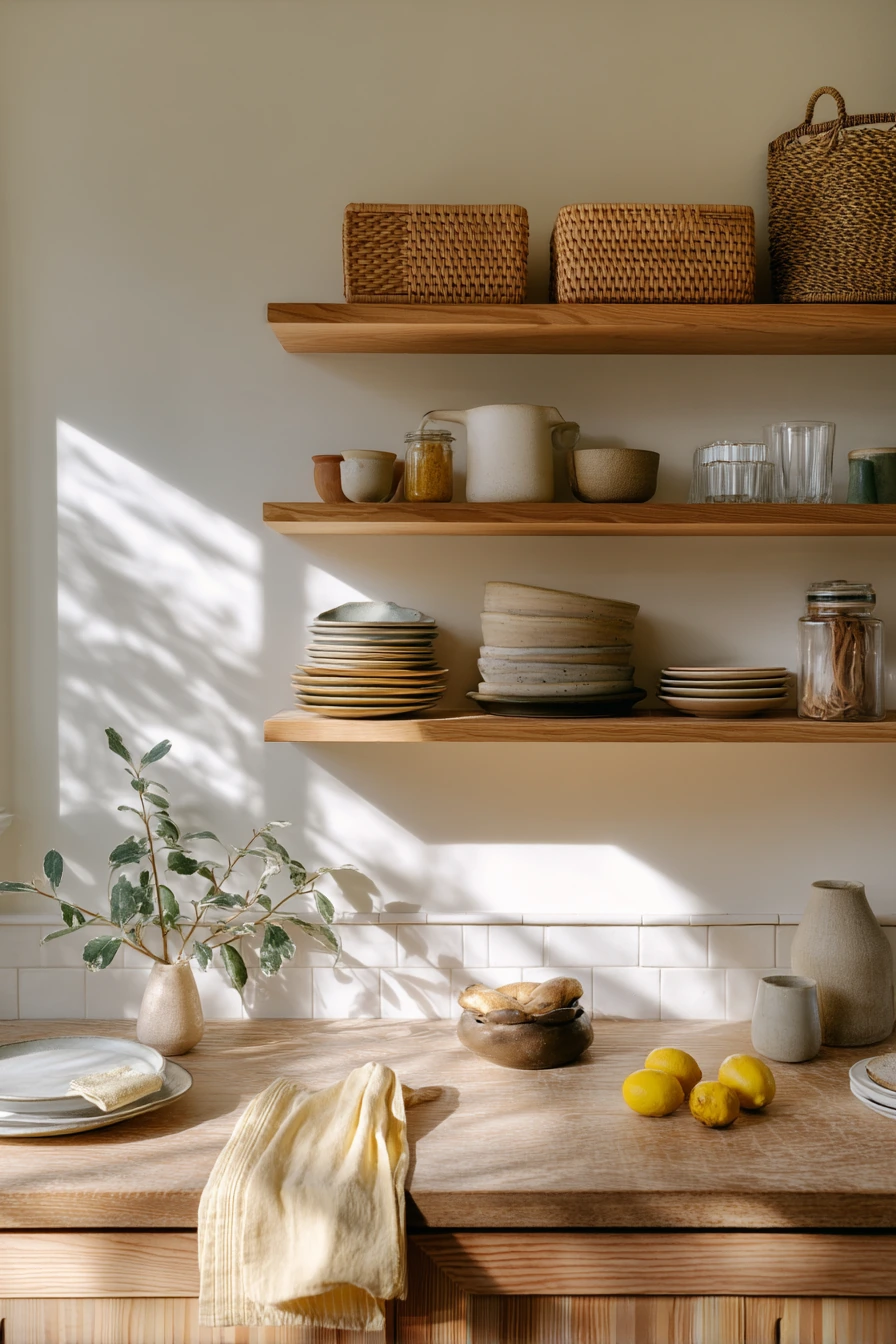
Open shelving can be great storage when it holds everyday items you actually use. Plates, stackable bowls, pantry jars, and woven baskets are easy to grab while setting the table for dinner. In a bright real-home kitchen with warm wood grain and soft cream tones, open shelves can feel relaxed instead of fussy.
Keep the shelves working by limiting what you display. Put daily plates and bowls on the lowest shelf, and keep heavier items near the ends where brackets are strongest. Use baskets for small packages so the shelf does not look busy. Decant pantry basics into jars, but do not feel like you need to decant everything. A few jars for flour, rice, and snacks usually covers the daily routine.
For styling, build in simple patterns. Stack bowls by size and keep labels facing forward. Mix subtle ceramics with one or two warm pieces, like a wooden board or a small plant casting soft shadows. If life is happening, that is fine. A tea towel draped askew, a lemon half, or a small mail stack can be contained with a tray so it looks intentional and stays easy to clear.
- Store everyday plates and bowls on the lowest open shelf for fast access.
- Use woven baskets to hide snack bags, tea packets, and small items.
- Group pantry jars by height so the shelf line looks clean.
- Add stackable bowls to save space and reduce messy piles.
- Use one tray to corral mail, lemons, and small loose items.
Pro Design Tip: Leave about one-third of each shelf open so the display reads as calm and you have room to put items back without shuffling stacks.
Budget Considerations: If new shelves are pricey, try removing one cabinet door for an open-shelf look, or use affordable brackets with a sealed wood board cut to size.
5. Deep Drawer Storage Ideas with Dividers, Spice Trays, and Pull-Out Organizers
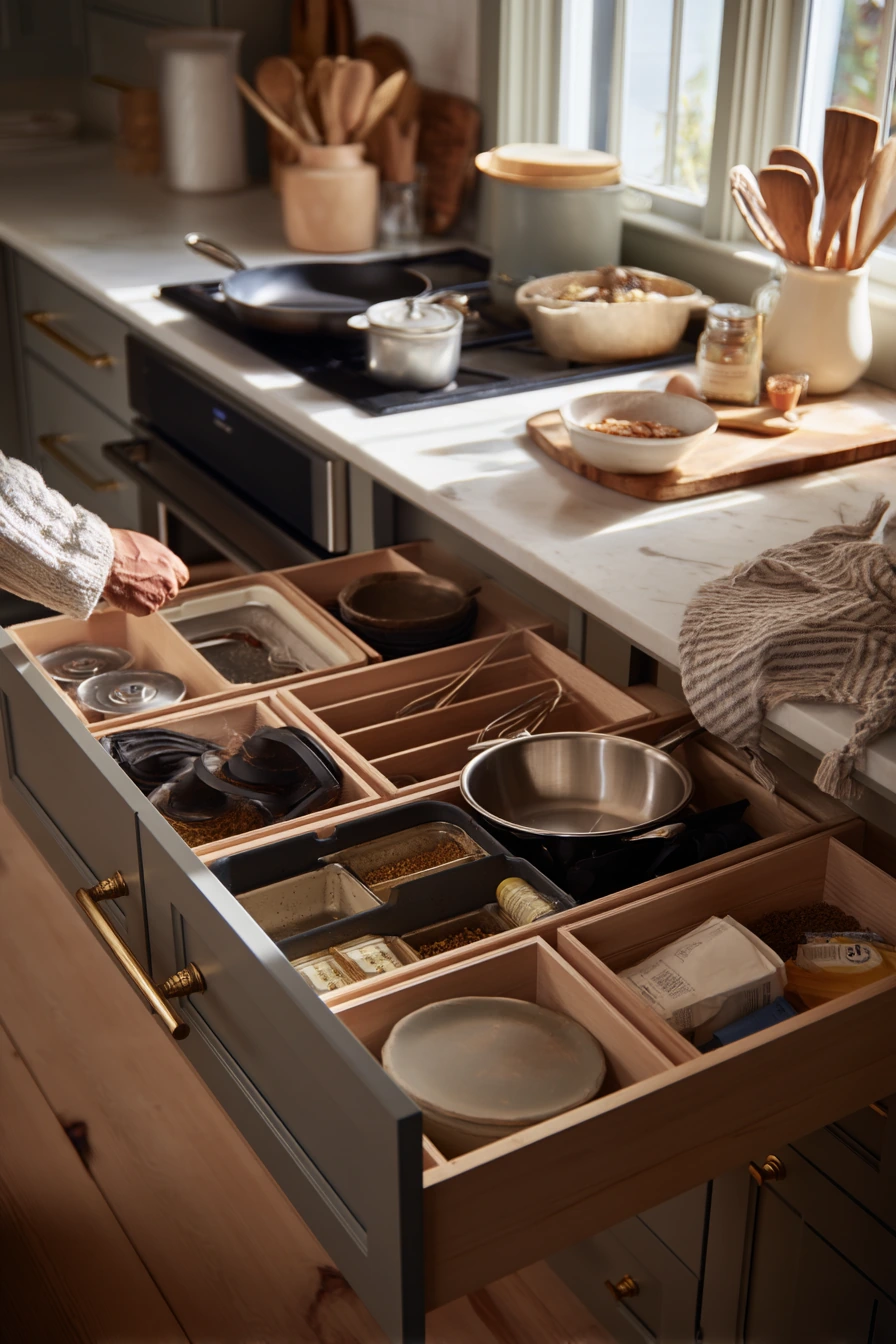

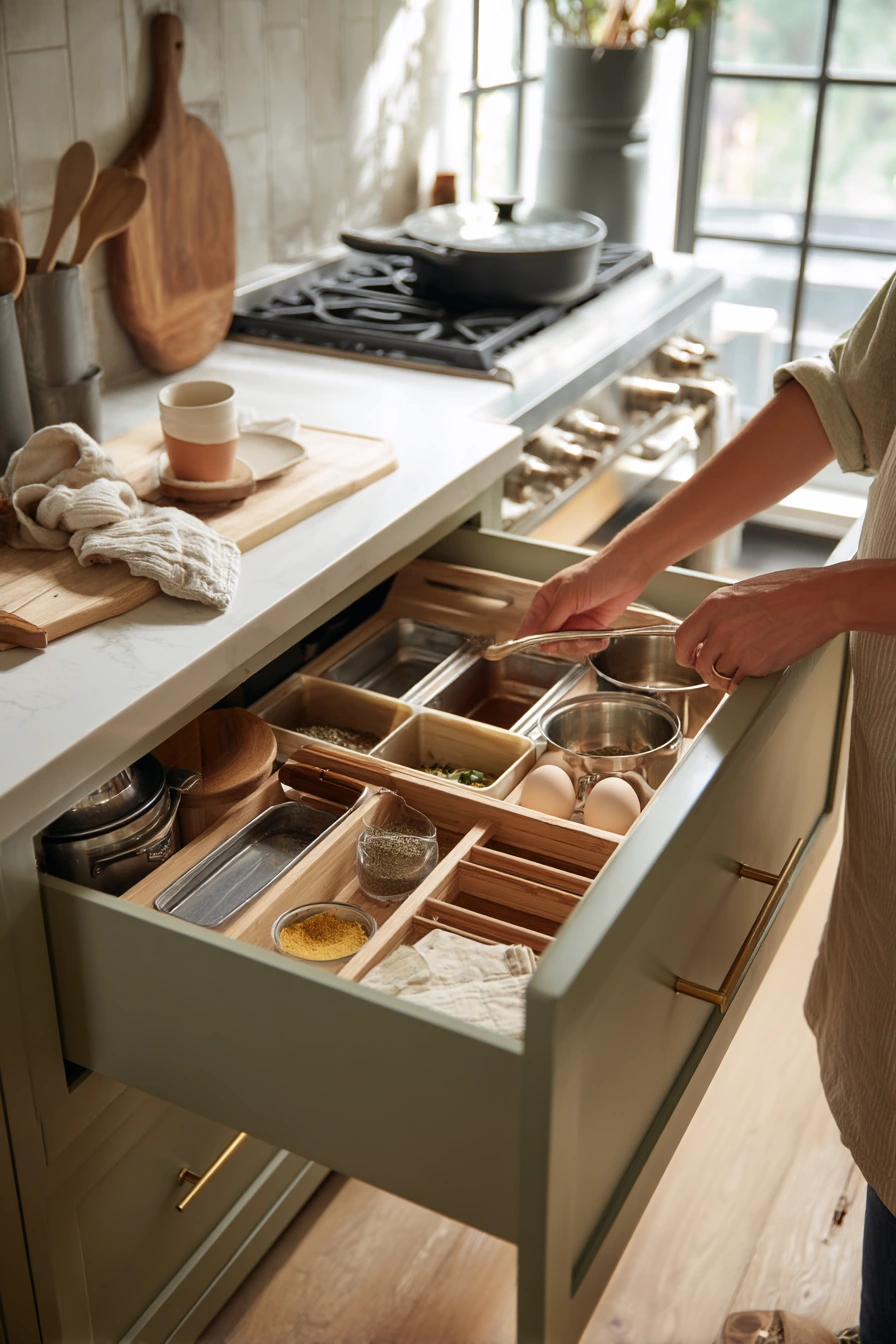
Deep drawers are some of the best hidden storage in a kitchen, but they only work when every item has a place. With dividers for utensils, nested pots, spice trays, and pull-out organizers, you can keep a busy home cook’s kitchen running smoothly while dinner simmers. This is especially helpful when you have mixed-use items nearby, like a toddler cup, a tea towel, and a grocery receipt on the counter.
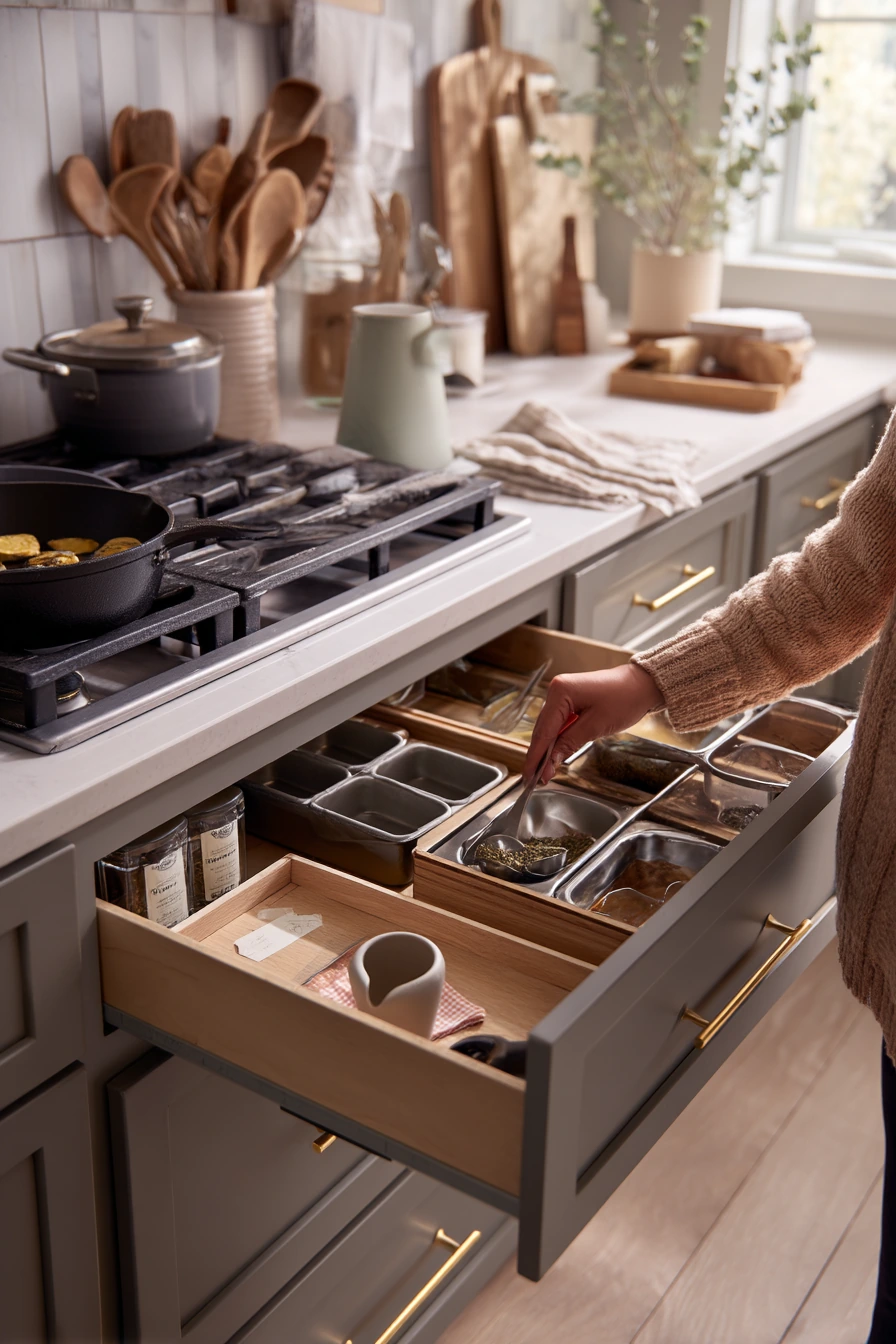
Begin by emptying one deep drawer and sorting by task. Put cooking tools together, baking tools together, and storage containers together. Add sturdy dividers so utensils do not slide into a pile. For pots, nest by size and store lids upright in a rack so you can grab the right one fast. A spice tray inside a drawer is great if you want a clean counter and you cook often with the same seasonings.
For styling, keep drawer interiors tidy and easy to reset. Choose inserts that fit the drawer width, not the “close enough” ones. Matte cabinetry and brushed brass pulls already look polished, so clean drawer layouts match that look. If you like a calm feel, stick to one insert color such as white, gray, or wood. The goal is to open a drawer and see clean zones, not a jumble.
- Use a utensil divider that fits edge to edge to prevent sliding.
- Nest pots and pans by size and keep the most-used skillet on top.
- Store lids in an upright rack so you do not have to unstack cookware.
- Add an in-drawer spice tray with labels facing up for quick reading.
- Use a pull-out organizer for wraps, foil, and parchment to stop tangles.
Pro Design Tip: Keep your “daily tools” drawer closest to the stove, and place the handle ends toward you so you can grab items with one hand while cooking.
Budget Considerations: Drawer inserts range widely; start with simple bamboo dividers and add custom-fit organizers later as drawers prove what you really use.
6. Corner Kitchen Storage Ideas: Lazy Susan, Corner Shelves, and Hidden Bins

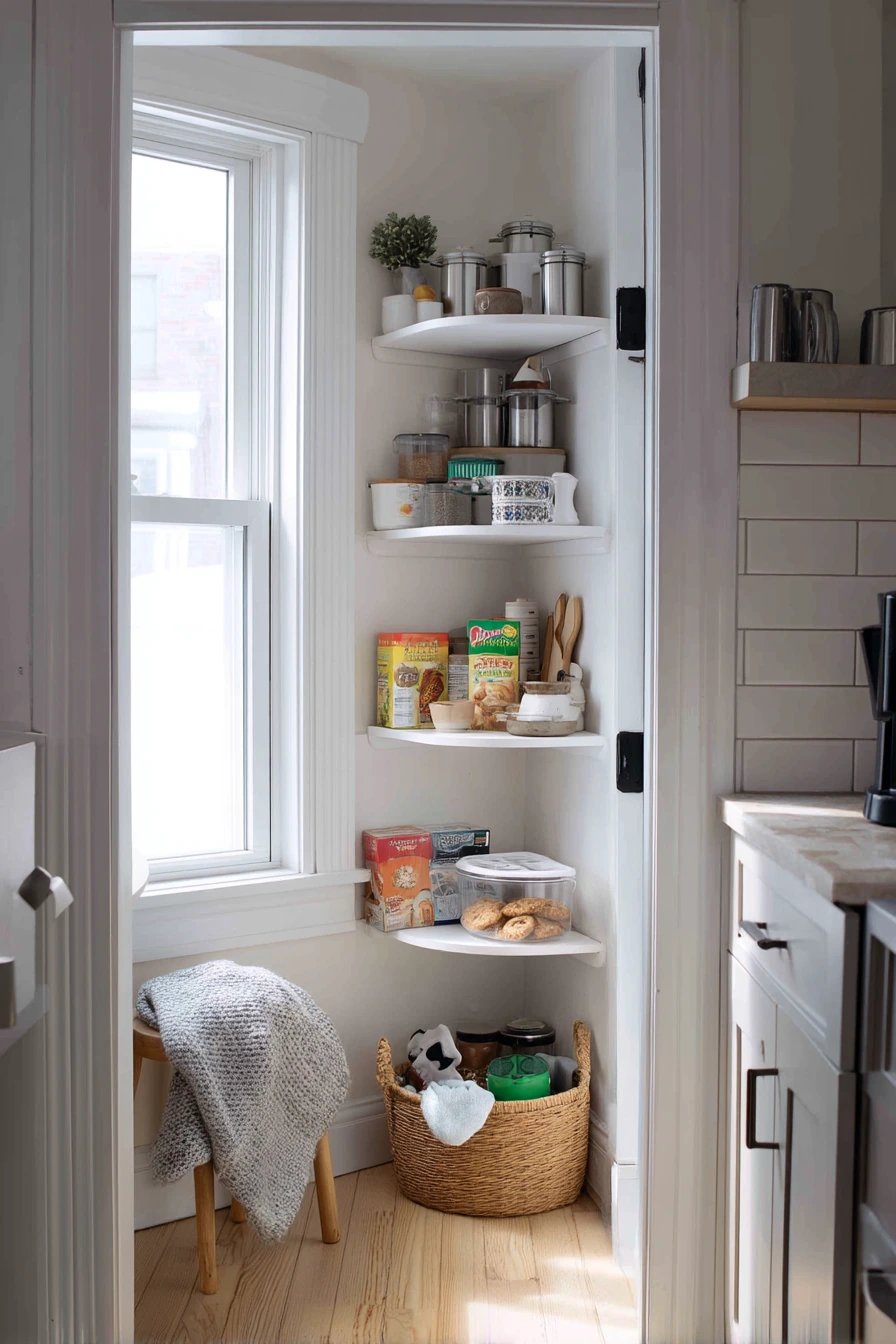
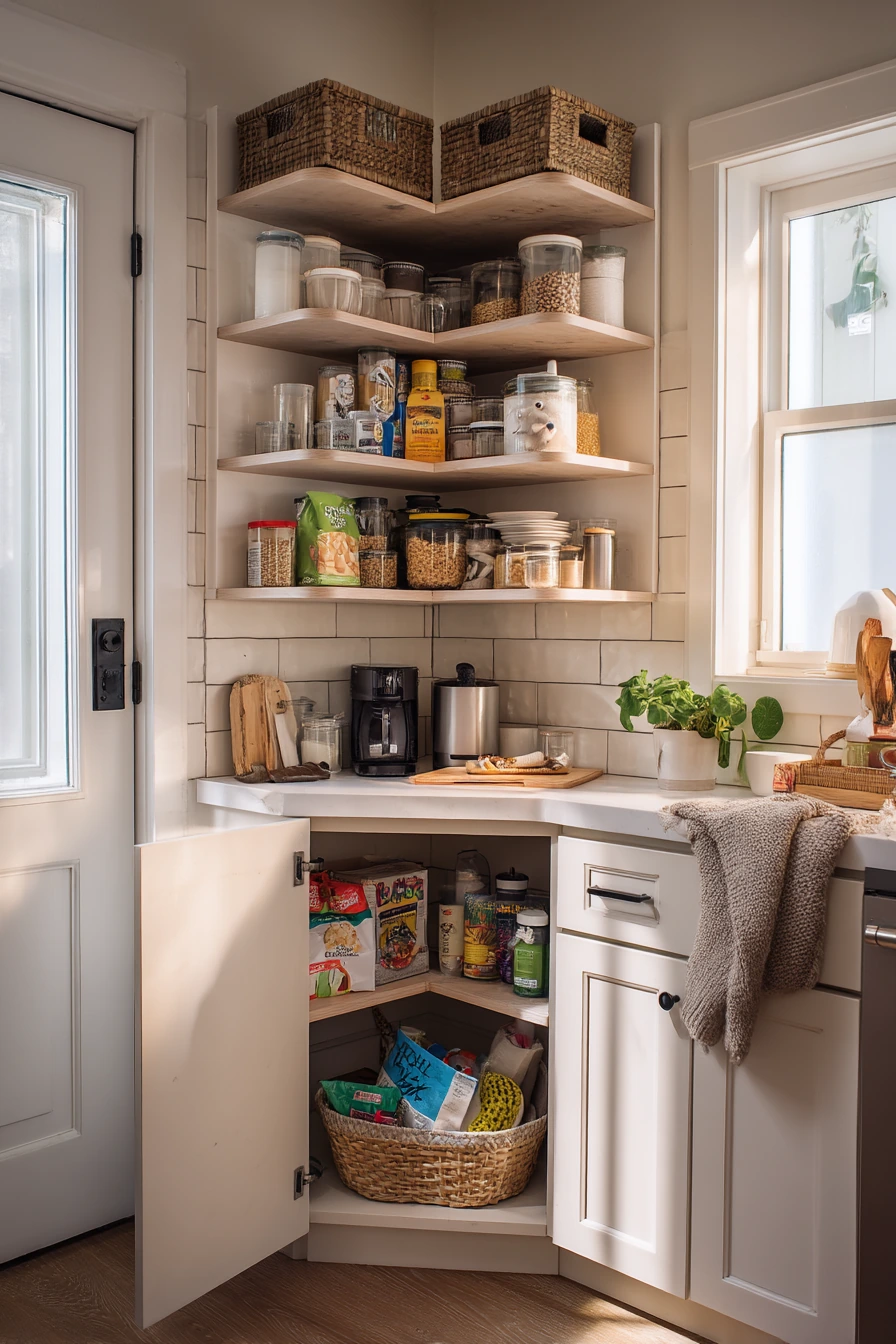
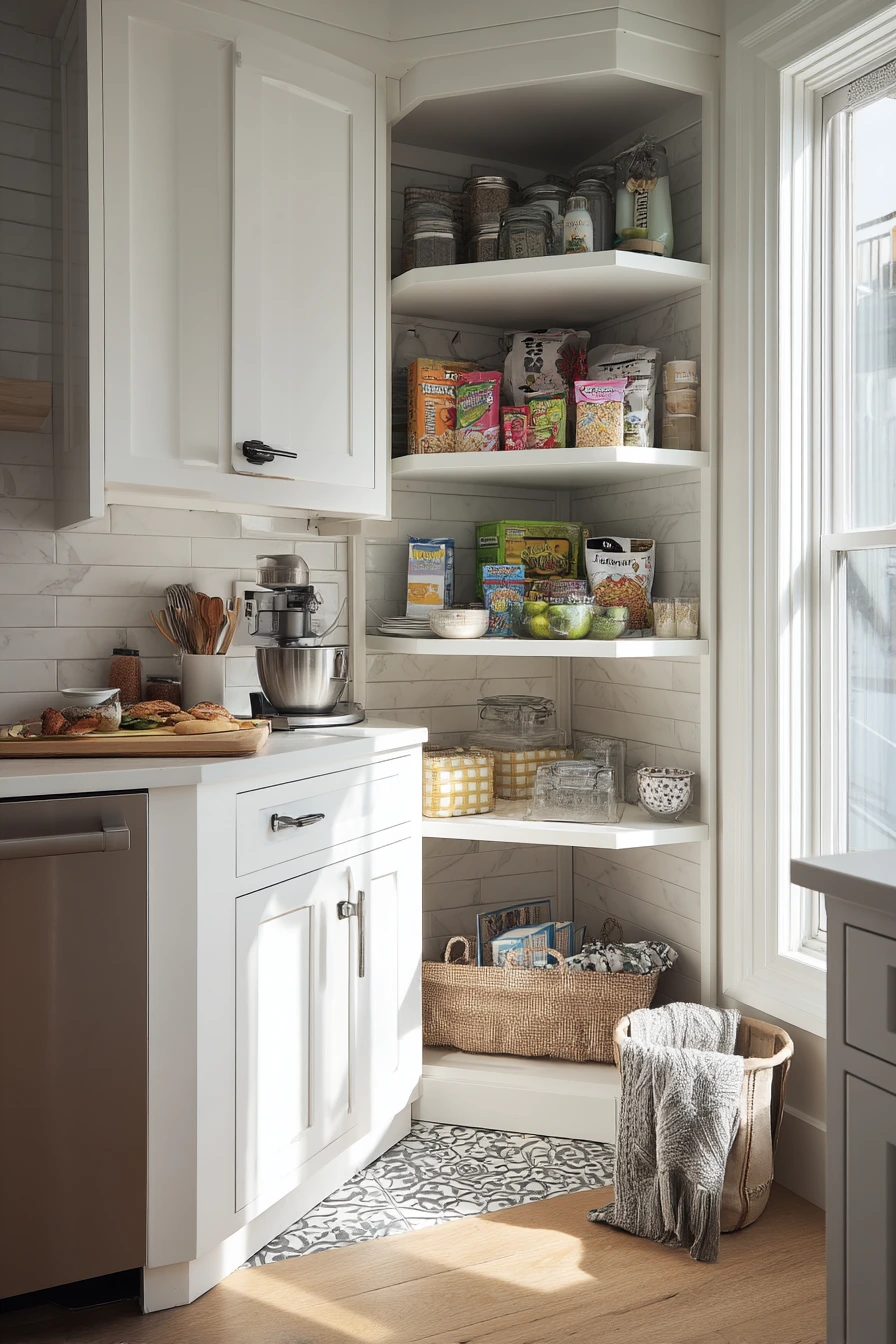
Kitchen corners often become dark, hard-to-reach zones where items get lost. Smart corner storage like a lazy Susan, stacked canisters, corner shelves, and hidden bins can turn that space into a useful breakfast and coffee area. In a compact suburban home, this helps a parent tidy after breakfast while coffee brews, without stuffing everything into the nearest cabinet.
Start by deciding what belongs in the corner. Corners work best for categories that stay together, like breakfast cereal, coffee pods, and snacks. Use a lazy Susan for small jars, nut butters, and syrups so you can spin and see what you have. If you have a narrow shelf above, add stacked canisters for sugar, coffee, and tea. For the lowest area, add a bin or basket for kid items so they can help put things away.
For styling, keep the corner clean with simple lines. Painted wood cabinets and subtle tile look best when packaging is contained. Decant a few daily items, and store the rest in bins. If there is always a cereal box out, give it a home in a tall bin. If a sweater ends up on a chair near the kitchen, add a hook or a small basket by the door to stop the kitchen from becoming a drop zone.
- Use a lazy Susan for jam, honey, nut butter, and small jars.
- Add corner shelves for canisters and mugs to open up cabinet space.
- Store cereal and granola in tall containers to reduce box clutter.
- Use hidden bins on the lowest shelf for snacks and kid-friendly items.
- Create a “back to kitchen” basket for toys that drift in from other rooms.
Pro Design Tip: Group items by height on the lazy Susan, with the tallest in the center, so labels stay visible and nothing tips when you spin it.
Budget Considerations: A basic plastic turntable works well; upgrade to a heavier wood or two-tier style only if you need more capacity.
7. Pantry Cabinet Storage Ideas for Weekly Meal Planning and Sunday Reset
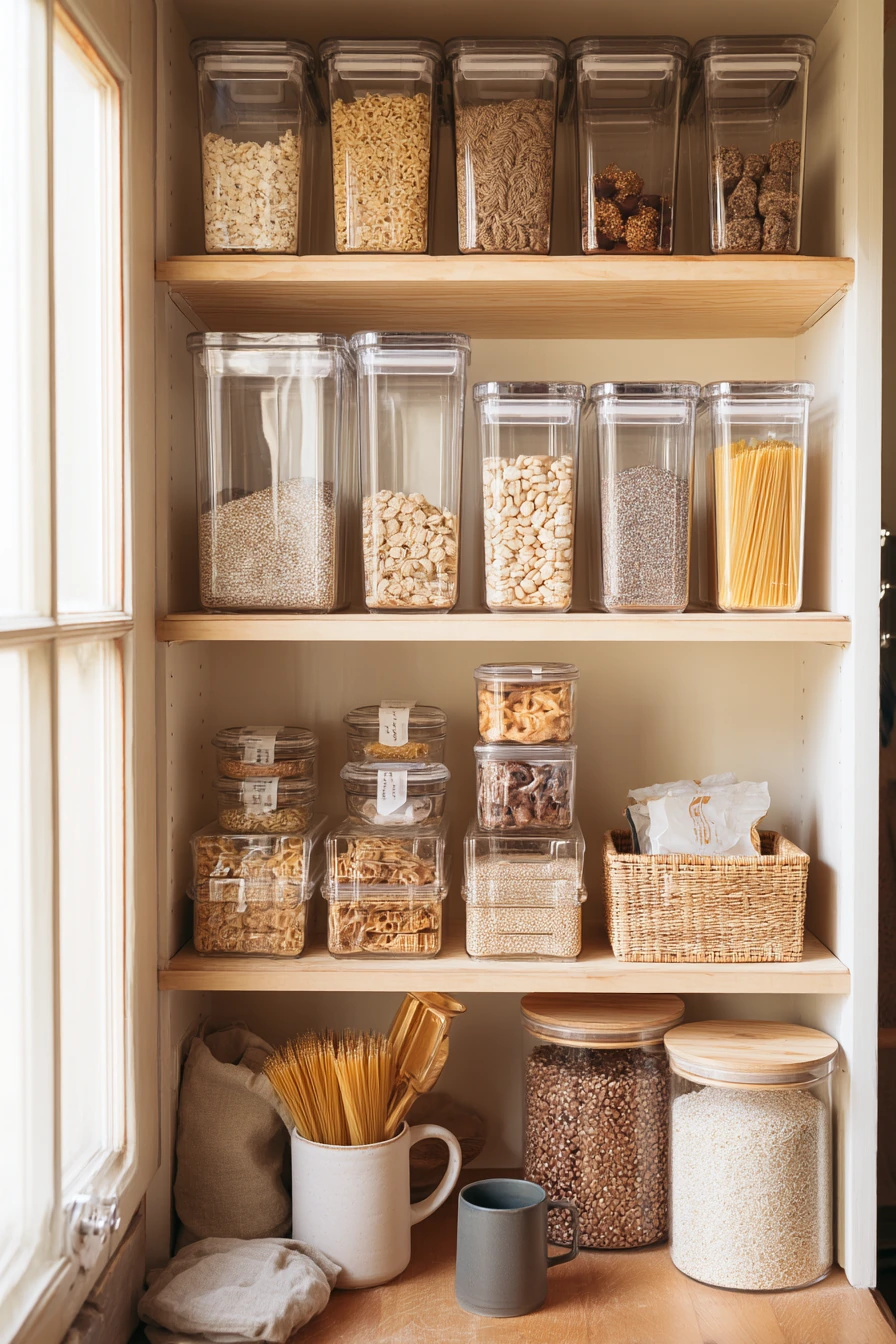
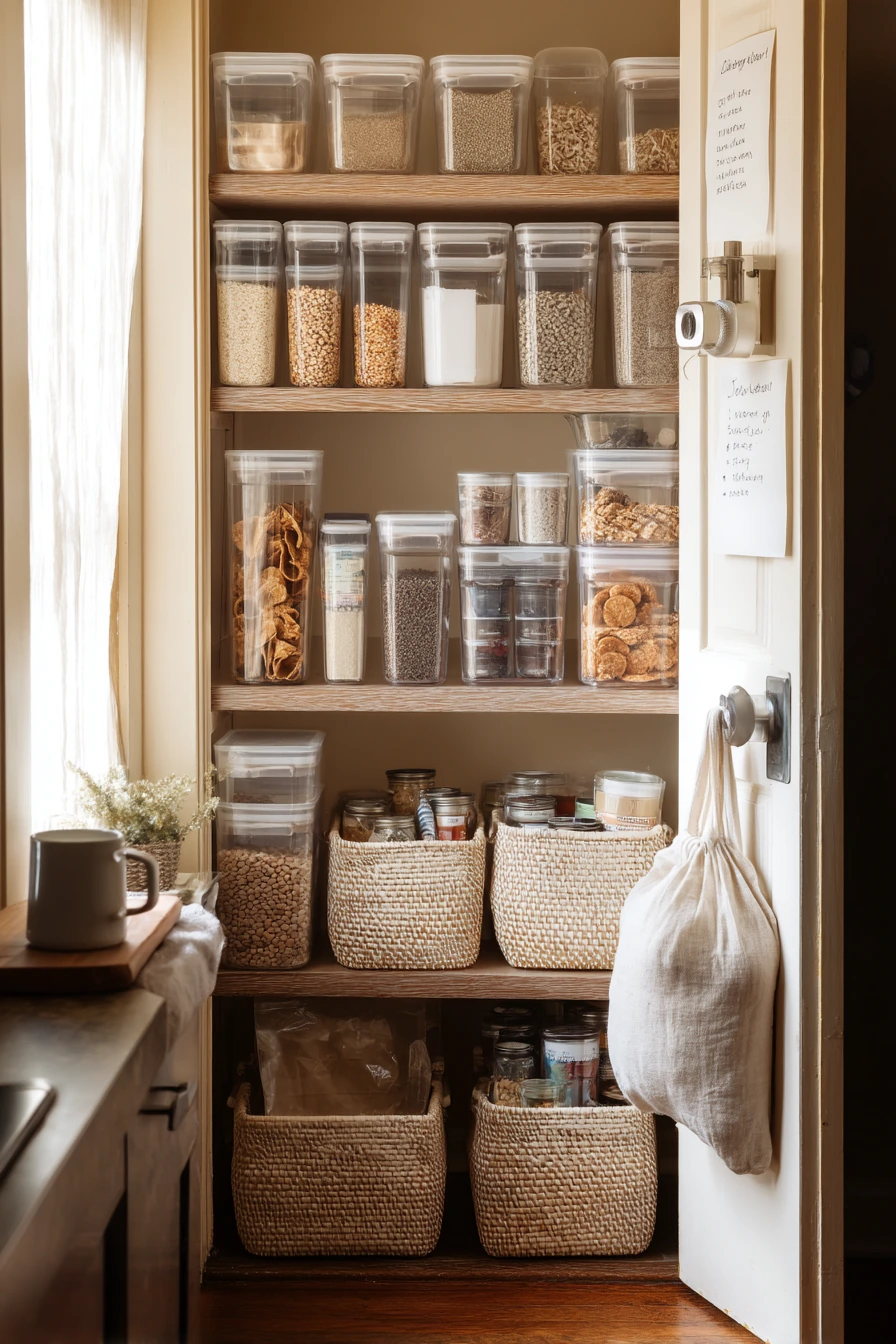
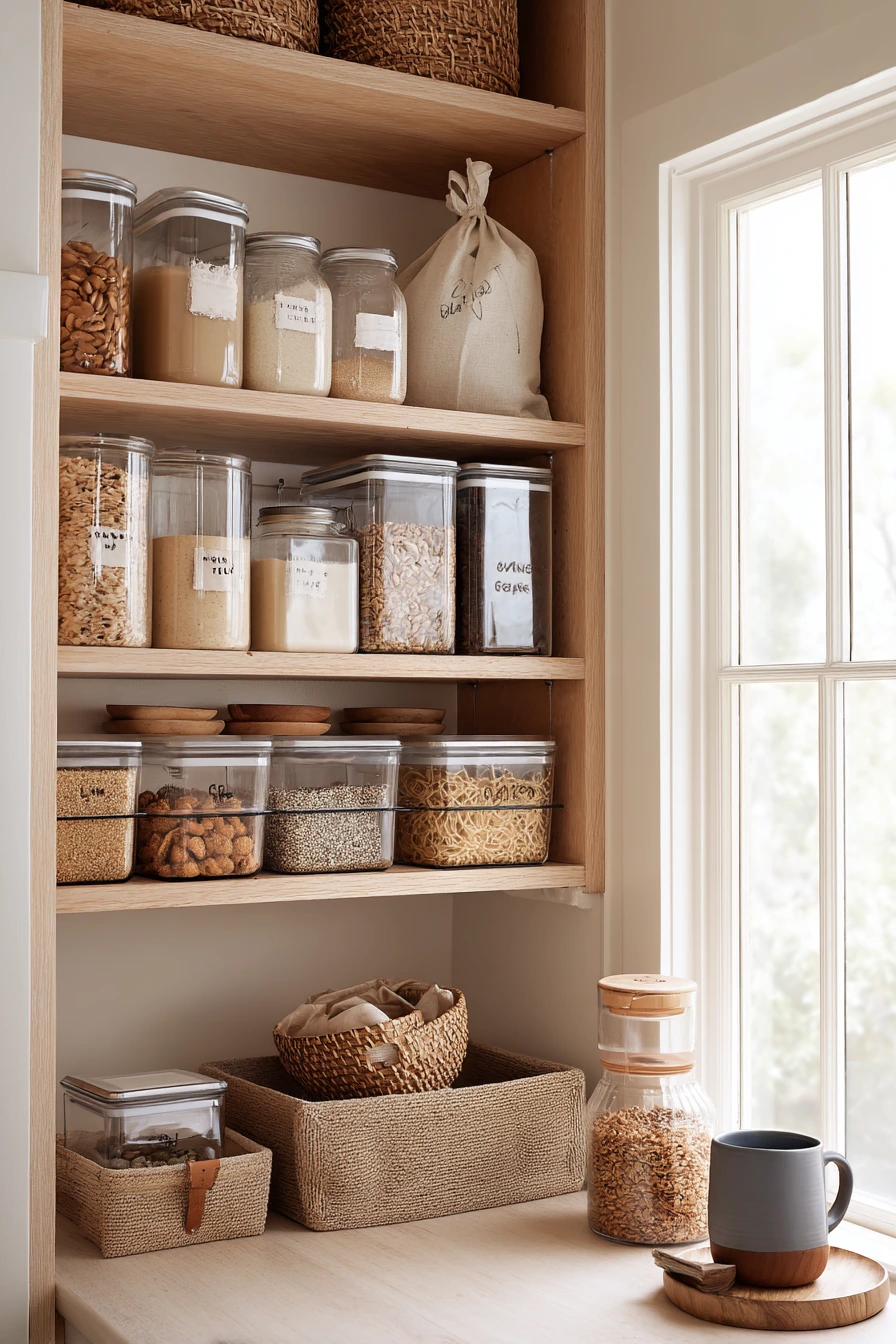
A pantry cabinet refresh can make meal planning much easier. Clear labeled bins, decanted grains, snack baskets, and tiered cans help you see what you have at a glance. During a Sunday reset, this kind of setup reduces weekday stress because lunches, snacks, and dinner basics are already sorted.
First, pull everything out and wipe shelves. Then sort by category: breakfast, baking, snacks, dinner staples, and backstock. Use clear bins for grab-and-go items like bars and applesauce, and add snack baskets for kids. Decant grains you use often, like rice and oats, into containers with tight lids. For canned goods, use a tiered riser so labels face forward and nothing hides in the back. Keep a grocery list on the door so you can mark what is running low.
For styling, use soft neutrals and simple wood shelving to keep the look calm. Choose labels that are easy to read, not tiny. Leave one shelf for overflow so you do not cram items in. If you find a jar lid left open or a reusable bag on the floor, that is a sign you need a small “inbox” bin for loose parts and bags. A pantry should be quick to reset, not perfect.
- Use clear labeled bins for snacks, breakfast items, and baking tools.
- Decant grains into airtight containers to prevent spills and pests.
- Add snack baskets so kids can grab and go without digging.
- Use a tiered can organizer to keep cans visible and easy to rotate.
- Keep a small bin for extras like bag clips, lid parts, and twist ties.
Pro Design Tip: Set up zones in the pantry based on your weekly routine, and keep the most-used zone at eye level to reduce bending and searching.
Budget Considerations: Start with a few bins and reuse jars you already have; you can add matching containers slowly instead of buying a full set at once.

8. Under-Sink Storage Ideas That Work Around Plumbing
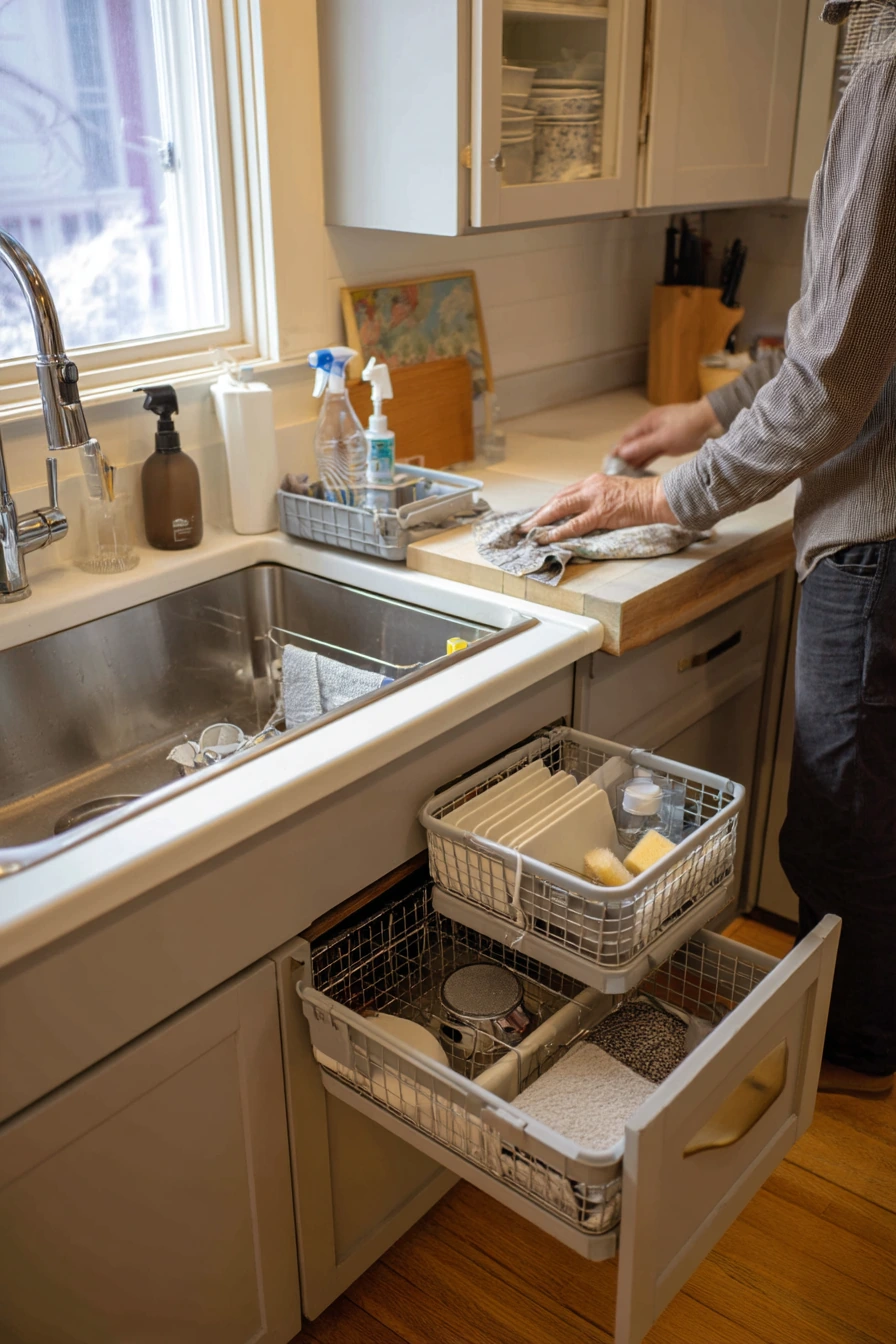
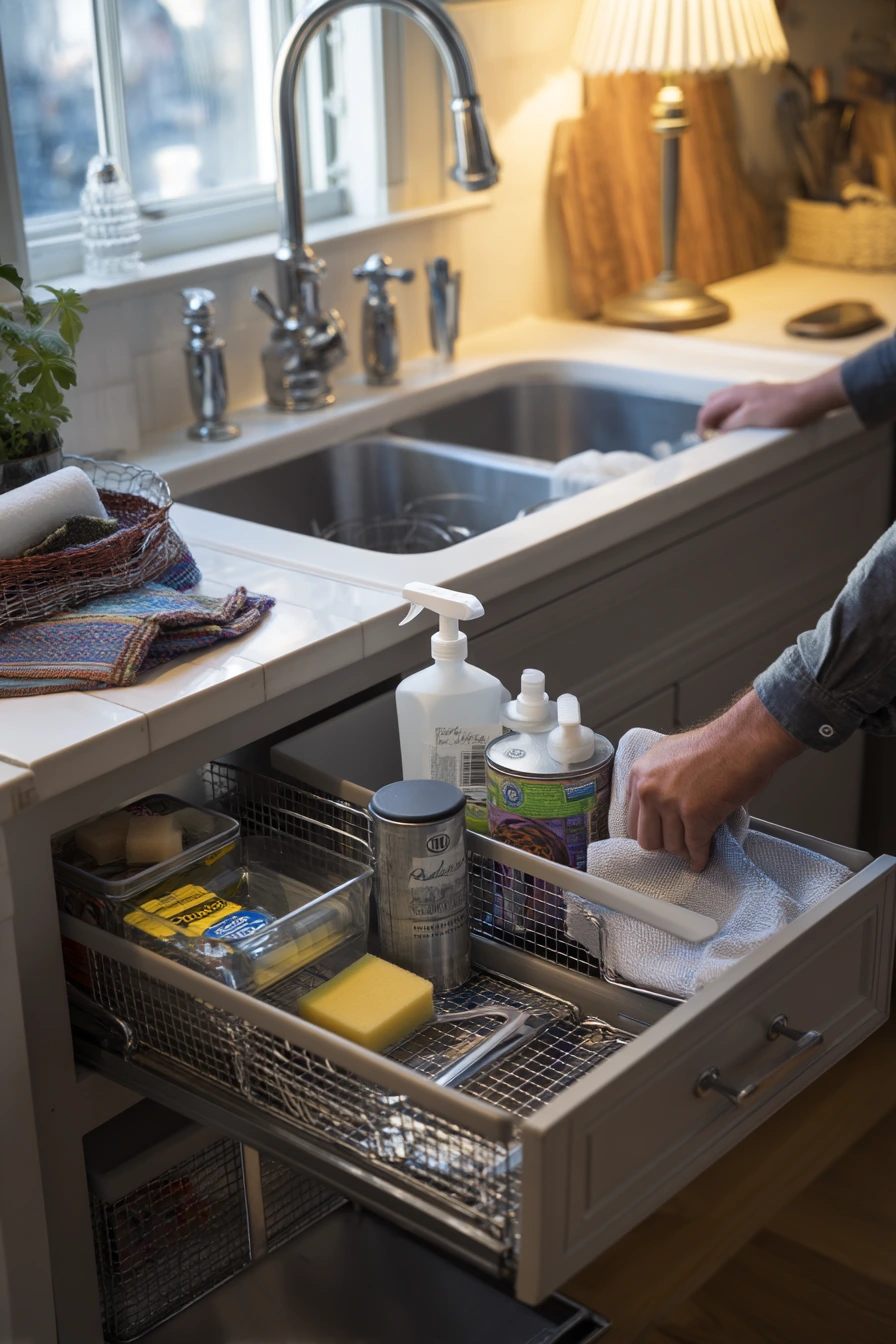
Under-sink storage can feel impossible because of pipes, a garbage disposal, and odd corners. With pullout bins, spray caddies, and stackable trays, you can turn this space into a clean, practical zone for dish soap and cleaning supplies. This works best when it supports real habits, like wiping the counter after dinner and putting products back fast.
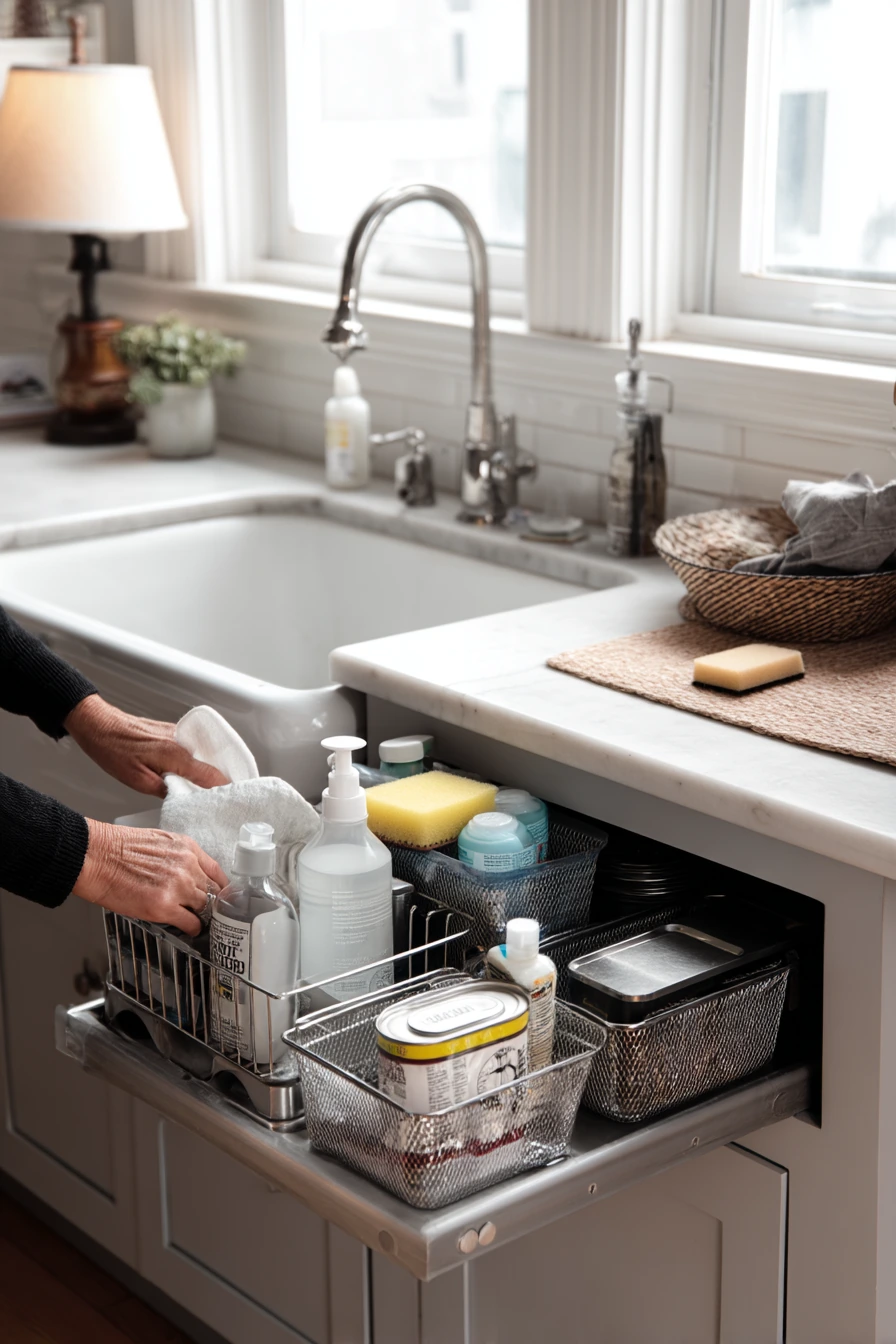
Begin by removing everything and checking for leaks. Then add a shelf riser or stackable tray to lift lighter items above the plumbing line. Use pullout bins so you can reach the back without kneeling and digging. Keep sprays upright in a handled caddy so you can carry them to the counter or bathroom if needed. Make room for daily items like sponges and dishcloths, and store backups behind them. If you have pets, give the pet treat tin a dedicated spot so it does not mingle with cleaners.
For styling, match your home’s look with simple containers. Pale gray cabinetry and utilitarian chrome look clean with clear or white bins. Use labels like “dishwasher,” “sprays,” and “trash bags” so anyone can reset the area. Keep only what you use and avoid half-used bottles. When you see three similar cleaners, pick one and finish it before opening another.
- Add a pullout bin for sponges, pods, and small bottles.
- Use a handled caddy for sprays so you can carry them room to room.
- Place stackable trays to create a second level above low pipes.
- Store trash bags and gloves in a narrow bin on one side.
- Keep pet items separate in a small lidded container.
Pro Design Tip: Use a moisture-proof liner and choose bins with holes or a removable tray so drips do not sit on the cabinet floor.
Budget Considerations: Affordable plastic bins work fine here; spend more only on a sturdy pullout if the space is used daily and needs smoother sliding.

9. Coffee Station Storage Ideas for a Shared Kitchen
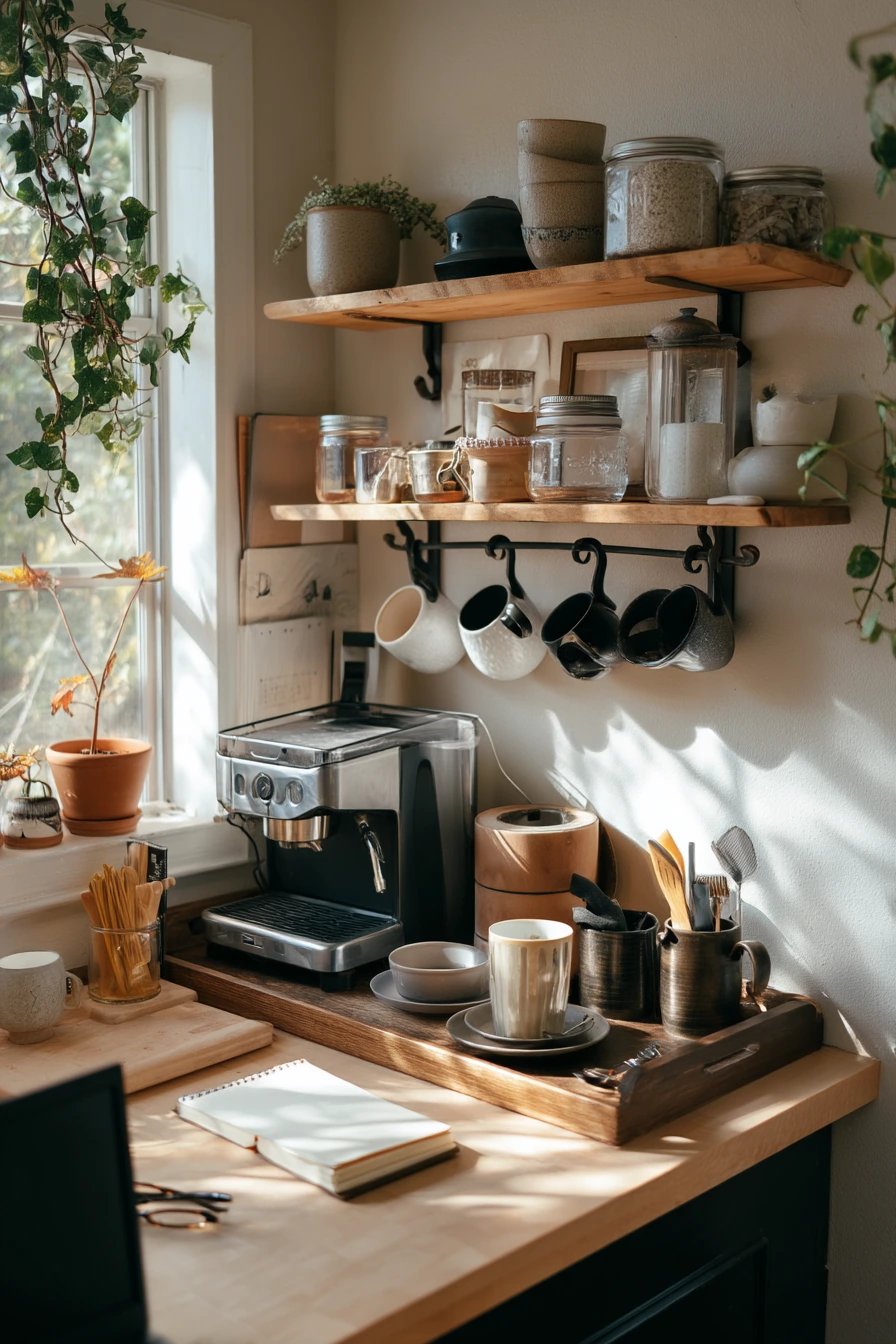

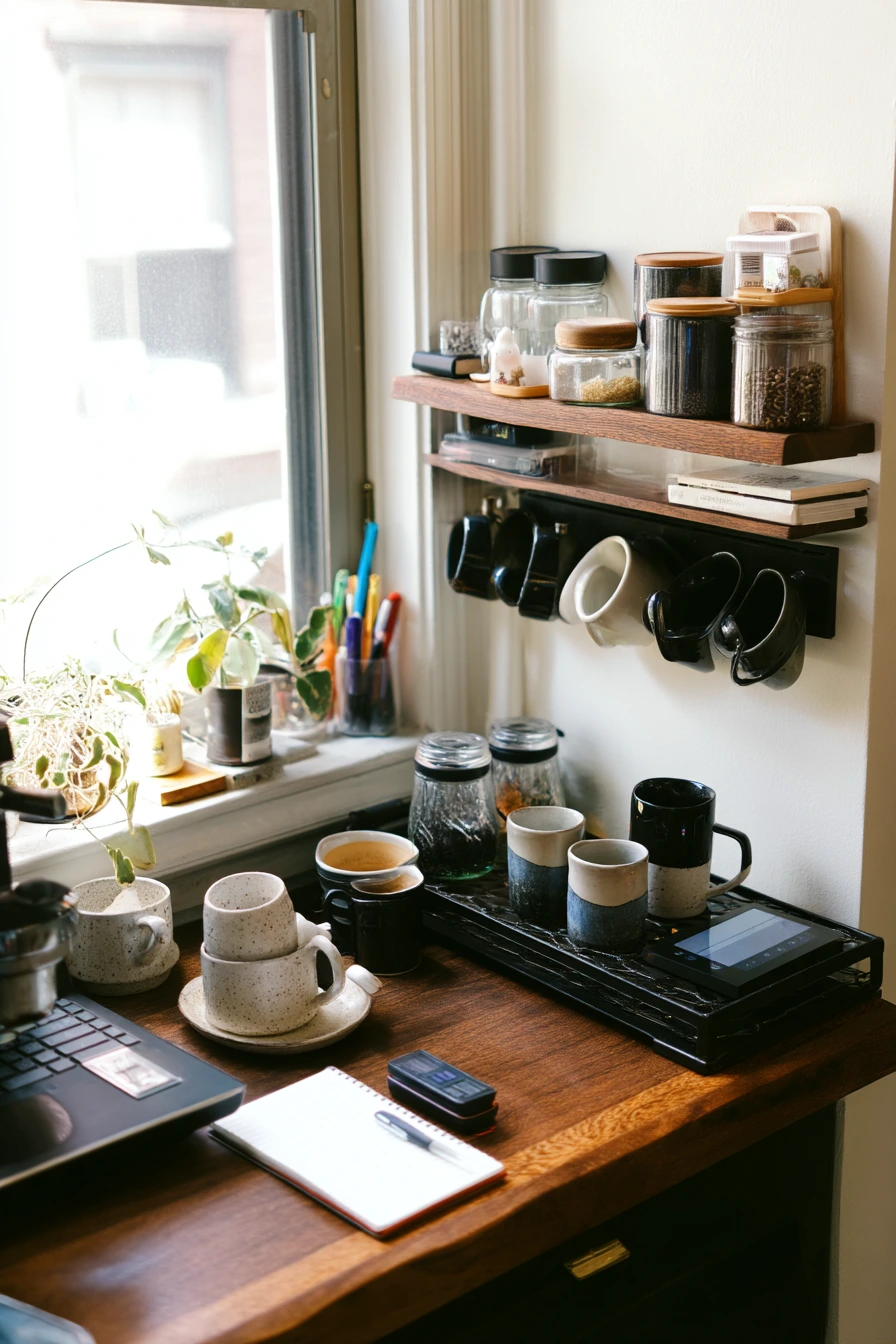
A shared-home coffee station helps mornings run smoother because everyone knows where the mugs, coffee, and tools live. Mug hooks, small shelves, airtight canisters, and a tray for daily essentials keep the area tidy beside the espresso machine. When two roommates are getting ready for work, this reduces clutter and saves time.
Choose one counter section and make it the coffee zone. Hang mugs on hooks under a shelf or on a small wall rack so cabinet space stays open. Use airtight canisters for coffee beans, grounds, and sugar to keep them fresh and easy to scoop. Add a small shelf for filters, pods, and tea. Place the most-used items on a tray so you can wipe the counter quickly without moving a bunch of separate pieces. If chargers and notebooks drift into the kitchen, set a “not coffee” basket nearby so the station stays focused.
For styling, repeat materials like walnut, black metal accents, and tactile ceramics. Keep the palette simple and leave some open counter space so it does not feel crowded. A houseplant adds softness, and a spoon in a saucer looks neat if it has a planned spot. The goal is a station that looks good but still works on a rushed weekday.
- Hang mugs on hooks to free cabinet shelves for food and cookware.
- Use airtight canisters for coffee, sugar, and tea to reduce mess.
- Add a small shelf for filters, pods, and stir sticks.
- Keep tools on a tray so cleanup is one quick lift and wipe.
- Store chargers and notebooks in a nearby basket to stop counter creep.
Pro Design Tip: Label one canister or jar for “regular” and one for “decaf” so roommates do not mix them up during busy mornings.
Budget Considerations: You can build a station with thrifted jars and a simple tray; add matching canisters later if you want a more uniform look.

10. Practical Counter Storage Ideas: Crocks, Boards, Fruit Bowls, and Small Baskets
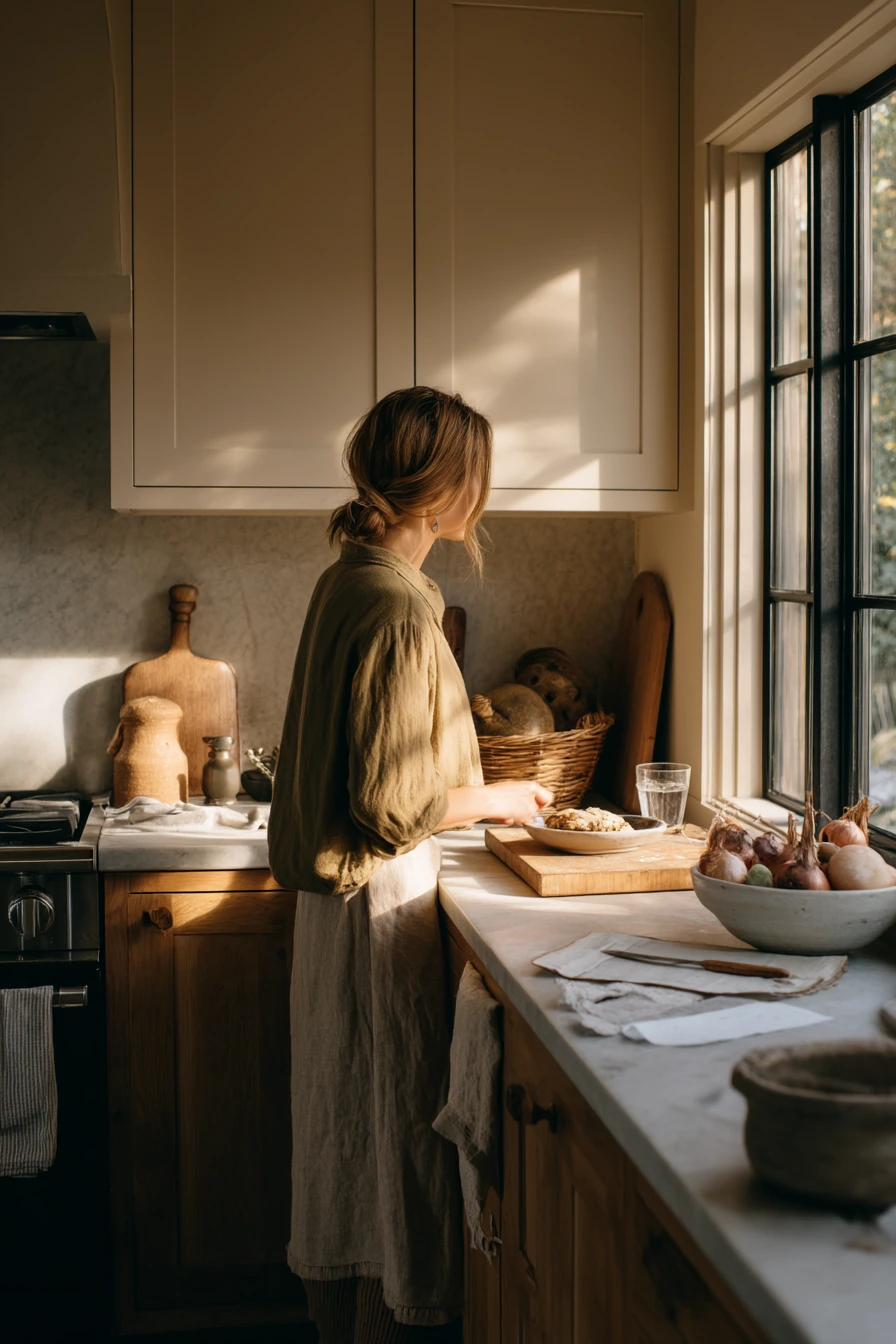
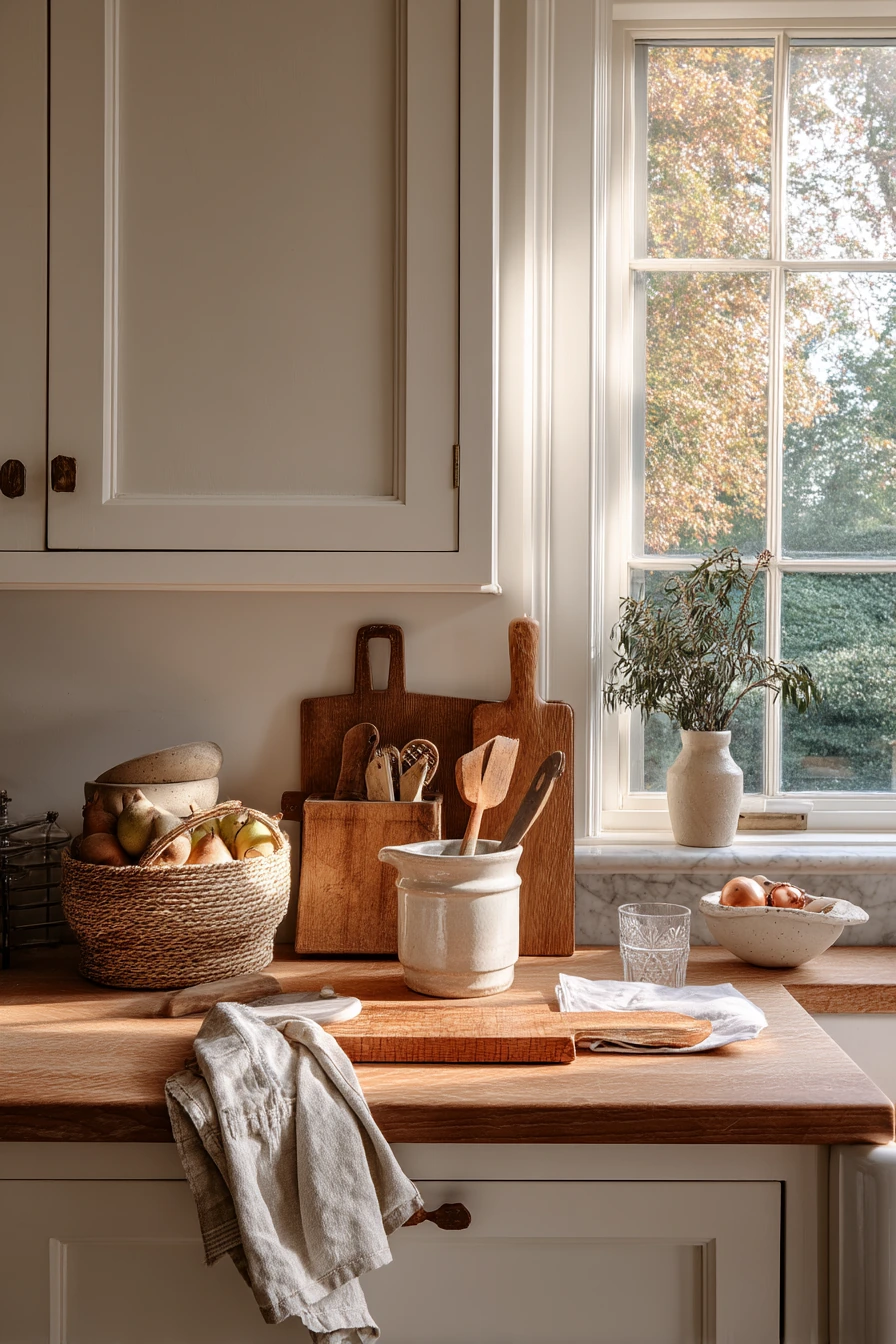
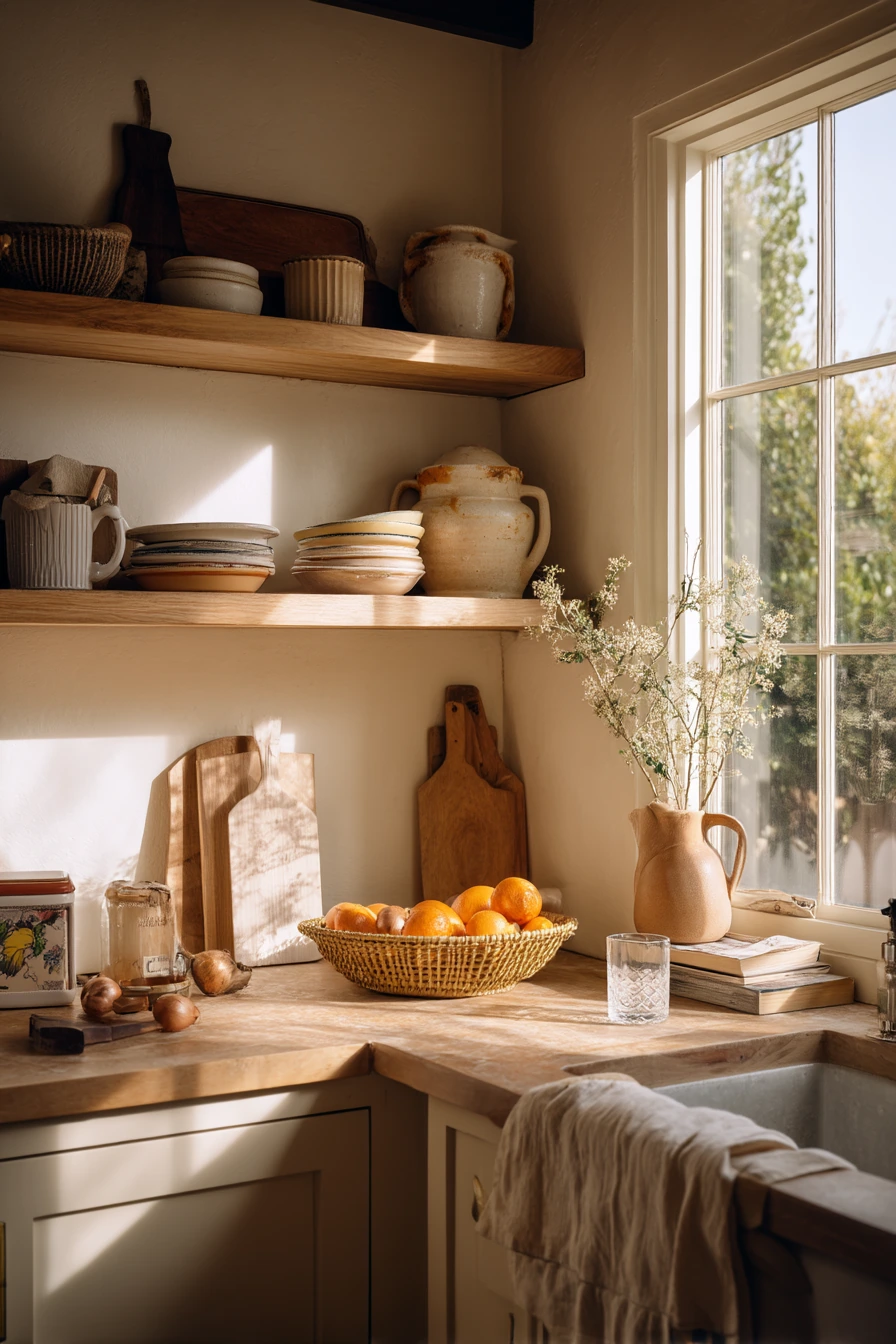
Counter storage works best when it is useful every day and easy to reset. A ceramic utensil crock, cutting boards leaned upright, a fruit bowl, and a small basket for onions and garlic can keep dinner prep smooth without covering every inch of counter. This kind of setup fits a calm weekday scene where a home cook is assembling dinner with just a few key tools out.
Start by clearing the counter fully, then put back only what you use daily. A utensil crock should hold your top tools, not every spatula you own. Keep cutting boards upright in a stand or against the backsplash so they dry well and take less room. Use a fruit bowl to stop produce from rolling around, and keep onions and garlic in a breathable basket away from heat and sun. Corral small items like a grocery receipt, potholder, and water glass on a tray so the counter stays clean looking.
For styling, choose pieces that match your kitchen finishes. Warm oak and muted stone pair well with soft white cabinetry and neutral ceramics. Pick one main material, like ceramic or wood, and repeat it. Keep the tallest items toward the back so sightlines stay open. If towels get wrinkled and tossed down, add a hook near the prep area so there is an easy home.
- Limit the utensil crock to your most-used tools for less visual clutter.
- Store cutting boards upright in a stand for easy grab-and-go prep.
- Use a fruit bowl to keep produce visible so it gets eaten.
- Add a small onion and garlic basket that allows airflow.
- Use a tray to hold loose items so wiping the counter is faster.
Pro Design Tip: Keep a clear “landing strip” of counter space near the stove for active cooking, and place storage pieces just outside that zone.
Budget Considerations: Shop your home first by reusing a bowl as a fruit dish and a jar as a utensil holder; upgrade later if you want matching counter pieces.

Kitchen storage works best when it matches real routines, not perfect photos. Pick one problem area, add simple zones, and keep only what you use often.
Use walls for hooks and shelves, drawers for organized tools, and bins for fast resets. Small details like labels, trays, and baskets make it easier to keep things tidy.
FAQ
What is the best way to start organizing kitchen storage?
Start with one drawer or one cabinet. Remove everything, sort by category, then add dividers or bins only after you know what you are keeping.
Are labeled glass jars worth it?
They help when you buy the same pantry staples often, like rice, oats, and flour. If you do not use those items weekly, bins or original packaging may be easier.
How do I add storage in a rental kitchen?
Use freestanding shelving, over-the-cabinet hooks, rolling carts, and removable adhesive hooks. Avoid permanent changes unless your lease allows it.
How do I keep counters clear but still functional?
Leave only daily tools out, like a utensil crock and cutting boards. Use a tray to gather loose items so the surface wipes clean quickly.
What should I store in deep drawers?
Pots, pans, lids, and cooking tools work well in deep drawers. Use nested stacking and racks so you can see everything without unpiling it.
How do I organize under the sink around plumbing?
Use pullout bins and stackable trays to work around pipes. Keep cleaners in a handled caddy and add a liner to protect the cabinet base.
How do I make open shelving look neat?
Store only everyday items, use baskets for small packages, and leave some empty space. Keep stacks even and repeat a few materials for a calm look.